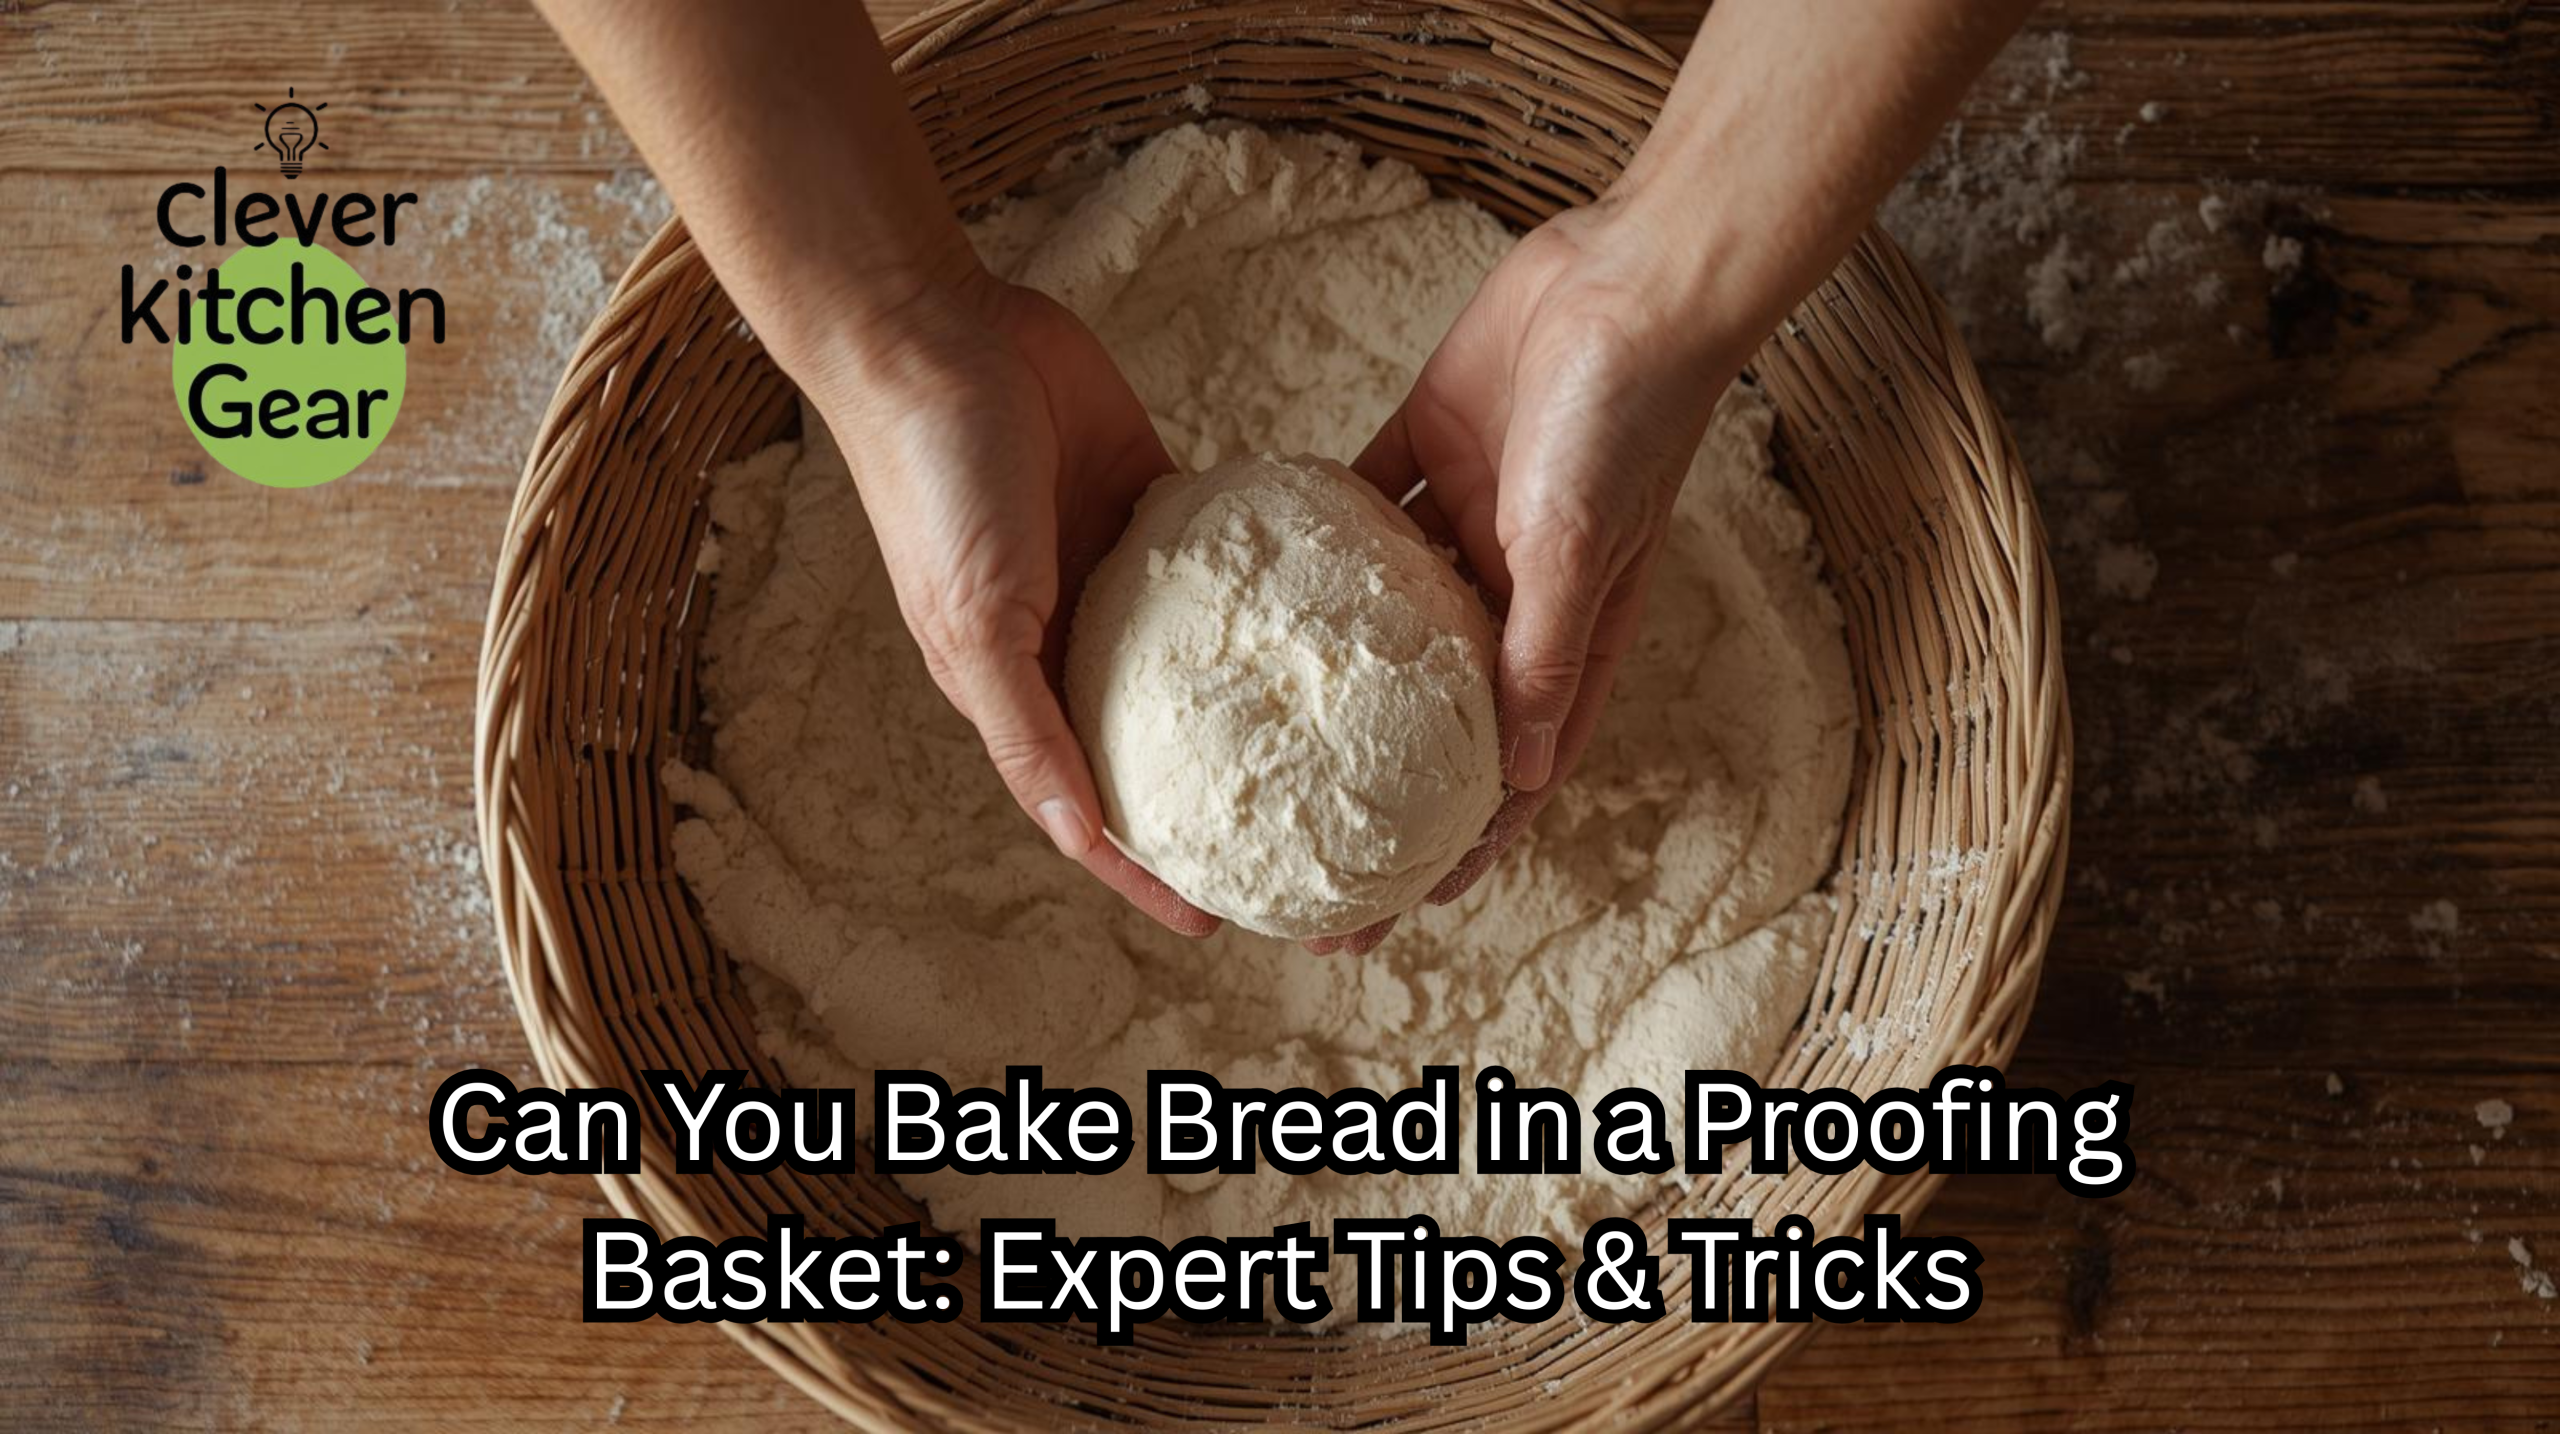
Can you bake bread in a proofing basket? Many home bakers ask this. You are not alone with this question.
This has interested many bakers like you. They want to try new baking ways. Imagine the smell of fresh bread at home. The crust crackles under your fingers. The basket might hold the secret.
But can it go from proofing to baking heat? Let's find the truth before you bake. See how this tool changes your baking. Ready to improve your bread skills? Dive in to see the possibilities!

Credit: www.amazon.com
Proofing Baskets Basics
Proofing baskets help dough keep shape. They do this while the dough rises. They support the dough structure. They also create crust patterns.
Bakers use them for better texture. They get a nice round shape. They are useful for homemade bread.
Types Of Proofing Baskets
There are many proofing baskets available. Main types are round and oval. Banneton baskets are also popular. Each gives a different bread shape.
-
Oval baskets are for long loaves.
-
Round baskets are for round bread (boules).
-
Banneton baskets have spiral patterns.
Materials Used
Baskets come in different materials. Common ones are rattan and cane. Wood pulp and plastic are also used.
Rattan and cane absorb moisture. Plastic baskets are easy to clean. They also last longer.
-
Rattan: Natural, breathable, traditional choice.
-
Cane: Lightweight, holds shape well.
-
Wood pulp: Soft surface, eco-friendly.
-
Plastic: Durable, easy to wash.
Choosing The Right Size
Pick a basket size for your dough. The basket must hold the dough well. It should not squish the dough.
Small baskets are good for rolls. Large baskets work for big loaves.
-
Measure dough size first.
-
Leave room for dough to rise.
-
Use a size that fits your oven space.
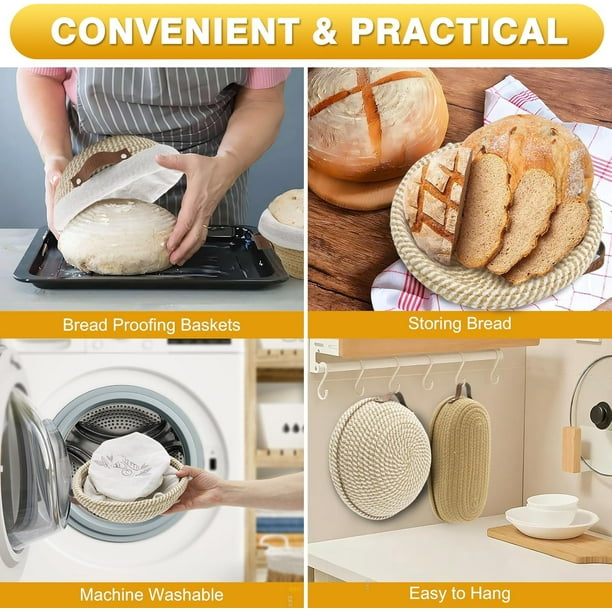
Benefits Of Using Proofing Baskets
Baskets help bakers shape dough properly. They give support during the final rise. Using them improves bread quality at home.
These baskets are easy to use. They come in different sizes. Many bakers find them very helpful.
Shaping The Dough
Baskets give the dough a firm shape. The basket walls hold dough in place. This stops the dough from spreading out.
-
Helps maintain round or oval shapes.
-
Prevents dough from flattening.
-
Supports soft dough with high water content.
-
Gives consistent shapes for even baking.
Improving Texture
The baskets let air move around the dough. This helps form a light, airy crumb. The texture becomes soft and strong.
| Effect | Result |
| Good air circulation | Light crumb structure. |
| Proper dough support | Even rise is achieved. |
| Controlled fermentation | Better flavor development. |
Enhancing Crust Appearance
The baskets leave a pattern on the surface. This creates a rustic look after baking. The basket adds a unique design.
Tips for Better Crust Patterns:
-
Dust the basket with flour before dough.
-
Choose baskets with different weaving styles.
-
Handle dough gently to keep patterns.
-
Remove dough carefully to save the marks.
Baking Bread In A Proofing Basket
A basket helps shape the dough nicely. It supports the dough during the final rise.
But Can You Bake Bread in a Proofing Basket during the actual baking? No — the basket shapes the dough, but the dough must be transferred to the oven.
The basket can give a good pattern. It also improves bread texture. It stops the dough from spreading out.
Preparing The Basket
Dust the basket well with flour first. This stops dough from sticking.
Use rice flour for best results. A mix of rice and wheat flour works too. Cover every part inside the basket.
-
Choose a basket size that fits your dough.
-
Dust the basket generously with flour.
-
Use rice flour to prevent sticking.
-
Tap out extra flour before adding dough.
- Baking instructors teach this simple dusting method: "To get a truly even, non-stick flour layer with the least effort, place about two tablespoons of rice flour into the basket. Then, hold the basket upside down over your sink and vigorously tap/rotate it, using the bottom of the basket to 'pound' the flour into the rattan ridges. This forces the flour into the deep crevices where the dough tends to stick, ensuring a perfect release every time. Pour out any excess flour after this step."
Transferring Dough To The Oven
Flip the dough out onto a surface carefully. Use a baking peel for easy transfer. Parchment paper also works well.
Score the dough before baking. Scoring helps the bread expand evenly.
-
Put parchment paper in the basket first.
-
Flip dough gently onto the tray or stone.
-
Score the dough with a razor or sharp knife.
-
Preheat the oven for a hot environment.
Baking Techniques
Bake bread hot for a crusty outside. It keeps the inside soft. Use steam in the oven at first.
Remove steam halfway through baking. This lets the crust brown well. Check the bread's sound for doneness.
-
Preheat oven to 450°F (230°C).
-
Add steam with a pan of water.
-
Bake with steam for the first 15 minutes.
-
Remove steam; bake until golden brown.
-
Tap the bottom; it should sound hollow.
Credit: www.walmart.ca
Common Challenges And Solutions
Baking with a basket can be tricky first. You may face shape problems. Texture can also be an issue.
This guide covers key issues now. It offers tips to bake better bread.
Dough Sticking Issues
Dough can stick to the basket. This makes removal hard. The basket was not prepped properly.
-
Use rice flour or cornmeal to dust lightly.
-
Make sure the basket is fully dry.
-
Line the basket with a clean cloth.
-
Wet dough sticks more; control hydration.
Maintaining Shape
Keeping the shape is important for a nice loaf. The basket helps support the dough. You still need some care.
| Challenge | Solution |
| Dough spreads too much. | Use a tighter basket. |
| Dough collapses after proofing. | Handle dough gently. |
| Uneven shape. | Check proofing time and dough consistency. |
Avoiding Overproofing
Overproofed dough loses its structure. It can easily collapse. Watch dough timing and behavior closely.
-
Press gently with a finger to check rise.
-
If the mark stays, the dough is ready.
-
If it springs back fast, proof longer.
-
Do not let dough rise beyond the basket's capacity.
Expert Tips For Best Results
Baking with a basket improves your loaf. Using the right steps helps you succeed.
These tips focus on dusting and timing. They guide you to better bread.
Proper Flour Dusting
Dusting stops dough from sticking. Use the right flour type and amount.
Too little flour makes the dough stick. Too much flour affects the crust texture.
-
Use rice flour or a mix of flours.
-
Apply a thin, even layer only.
-
Dust the basket before each use.
Optimal Proofing Times
Proofing time affects rise and texture. Watch the dough more than the clock.
Short proofing gives dense bread. Long proofing causes collapse.
-
Dough volume should nearly double.
-
Finger test: dough springs back slowly.
-
Keep proofing temperature around 75°F (24°C).
Using Linen Liners
Liners help keep shape and prevent sticking. They absorb moisture well. They support the dough during proofing.
Choose natural linen for breathing. Wash liners first to soften them.
-
Use a liner that fits your basket size.
-
Lightly flour the linen before dough.
-
Replace liners if they get worn.

Credit: www.bakerybits.co.uk
Cleaning And Maintaining Proofing Baskets
Baskets help shape and improve texture. Keeping them clean is important.
Regular care protects your basket. It keeps it fresh for many uses.
- "Never soak your banneton. The easiest and safest cleaning and sanitizing routine is a two-step dry process: First, knock out loose flour and use a stiff brush to remove stuck bits. Second, place the empty basket in your oven for 30 minutes at 250°F (120°C ). This low heat fully dries out any trapped moisture and kills mold spores and bacteria, keeping your basket fresh and clean for its next use."
Cleaning Methods
Remove dough bits after each use. Use a dry brush to clean the surface.
Rinse with cold water if sticky. Avoid hot water to keep fibers strong.
-
Brush away flour and dough pieces.
-
Rinse with cold water if needed.
-
Do not use soap or detergent.
-
Let the basket air dry completely.
Storage Tips
Keep baskets in a dry place. Good air flow prevents mold.
Do not store baskets in sealed bags. Use cloth bags or leave them open.
| Storage Condition | Effect |
| Cool, dry area. | Prevents mold and keeps fresh. |
| Sealed plastic bags. | May cause mold from trapped moisture. |
| Direct sunlight. | Can weaken the basket fibers. |
Extending Basket Lifespan
Do not soak your basket for a long time. Too much water weakens the fibers.
Brush your basket often. This removes flour buildup. It keeps the basket strong and clean.
-
Avoid soaking the basket in water.
-
Dry thoroughly after any cleaning.
-
Brush off flour after each use.
-
Use baskets only for proofing dough.
Frequently Asked Questions
Can You Bake Bread in a Proofing Basket?
No. Proofing baskets shape dough; they are not oven-safe.
What Is The Purpose Of A Proofing Basket In Bread Making?
It shapes dough during the final rise. It maintains structure. It creates a beautiful crust pattern.
Can A Proofing Basket Replace A Bread Pan?
No, they are for different things. Baskets shape dough for rising. Pans hold dough for baking structure.
How Do You Prevent Dough From Sticking To A Proofing Basket?
Dust the basket with flour or rice flour. Lining it with a cloth also works. This prevents sticking.
Conclusion
Baking bread with a basket works well. It helps shape the dough. It adds nice patterns too. The basket stops the dough from spreading. You get a rustic, round loaf. It only supports the process, it does not bake.
Using a basket improves your baking. Try it to see your results. Simple tools make a big difference. Give your bread a better shape today.