Are you ready to turn your cold-proofed sourdough dough into a golden, crusty masterpiece? Baking sourdough bread after cold proofing can be tricky, but with the right steps, you’ll get that perfect rise and crunchy crust every time.
This guide will walk you through the simple, clear process to help you bake bread that not only tastes amazing but looks like it came from a bakery. Stick with me, and you’ll soon impress yourself—and everyone you share your bread with.
Let’s get your sourdough baking skills to the next level!

Credit: countryroadssourdough.com
Achieving The Perfect Crust
Baking sourdough bread after cold proofing requires care to get the crust just right. The crust adds flavour and texture to your bread.
This guide helps you create a crust that is crispy and golden, making your sourdough even better.
Crust Colour And Texture
A perfect crust has a deep golden or dark brown color. This color shows the sugars in the dough caramelized well.
The texture should be crunchy on the outside but not hard or burnt. A good crust cracks slightly when sliced.
- Use high oven heat, about 450°F (230°C), for a strong crust.
- Steam in the first 10-15 minutes helps the crust stay thin and crisp.
- Bake long enough for the colour to develop, but watch to avoid burning.
Cooling For Crispness
Let the bread cool fully on a wire rack after baking. Cooling lets moisture escape and keeps the crust crisp.
Cutting the bread too soon makes the crust soft and chewy. Wait at least one hour before slicing.
- Place bread on a cooling rack to allow air flow.
- Do not cover the bread while cooling, or it will soften.
- Room temperature is best; avoid refrigerating bread immediately.
Common Crust Issues
Some common problems include crusts that are too soft, too hard, or burnt. Each issue has a simple fix.
- Soft crust: Bake longer or increase oven heat. Use steam early in baking.
- Hard crust: Lower the oven temperature slightly or shorten baking time.
- Burnt crust: Reduce oven temperature or move bread away from the heat source.
- Blistered crust: This is normal in sourdough and adds flavour.
Troubleshooting Baking Problems
Baking sourdough bread after cold proofing can be tricky. Sometimes the bread does not turn out as expected.
Knowing how to fix common issues will help you bake better loaves. Below are solutions for three common problems.
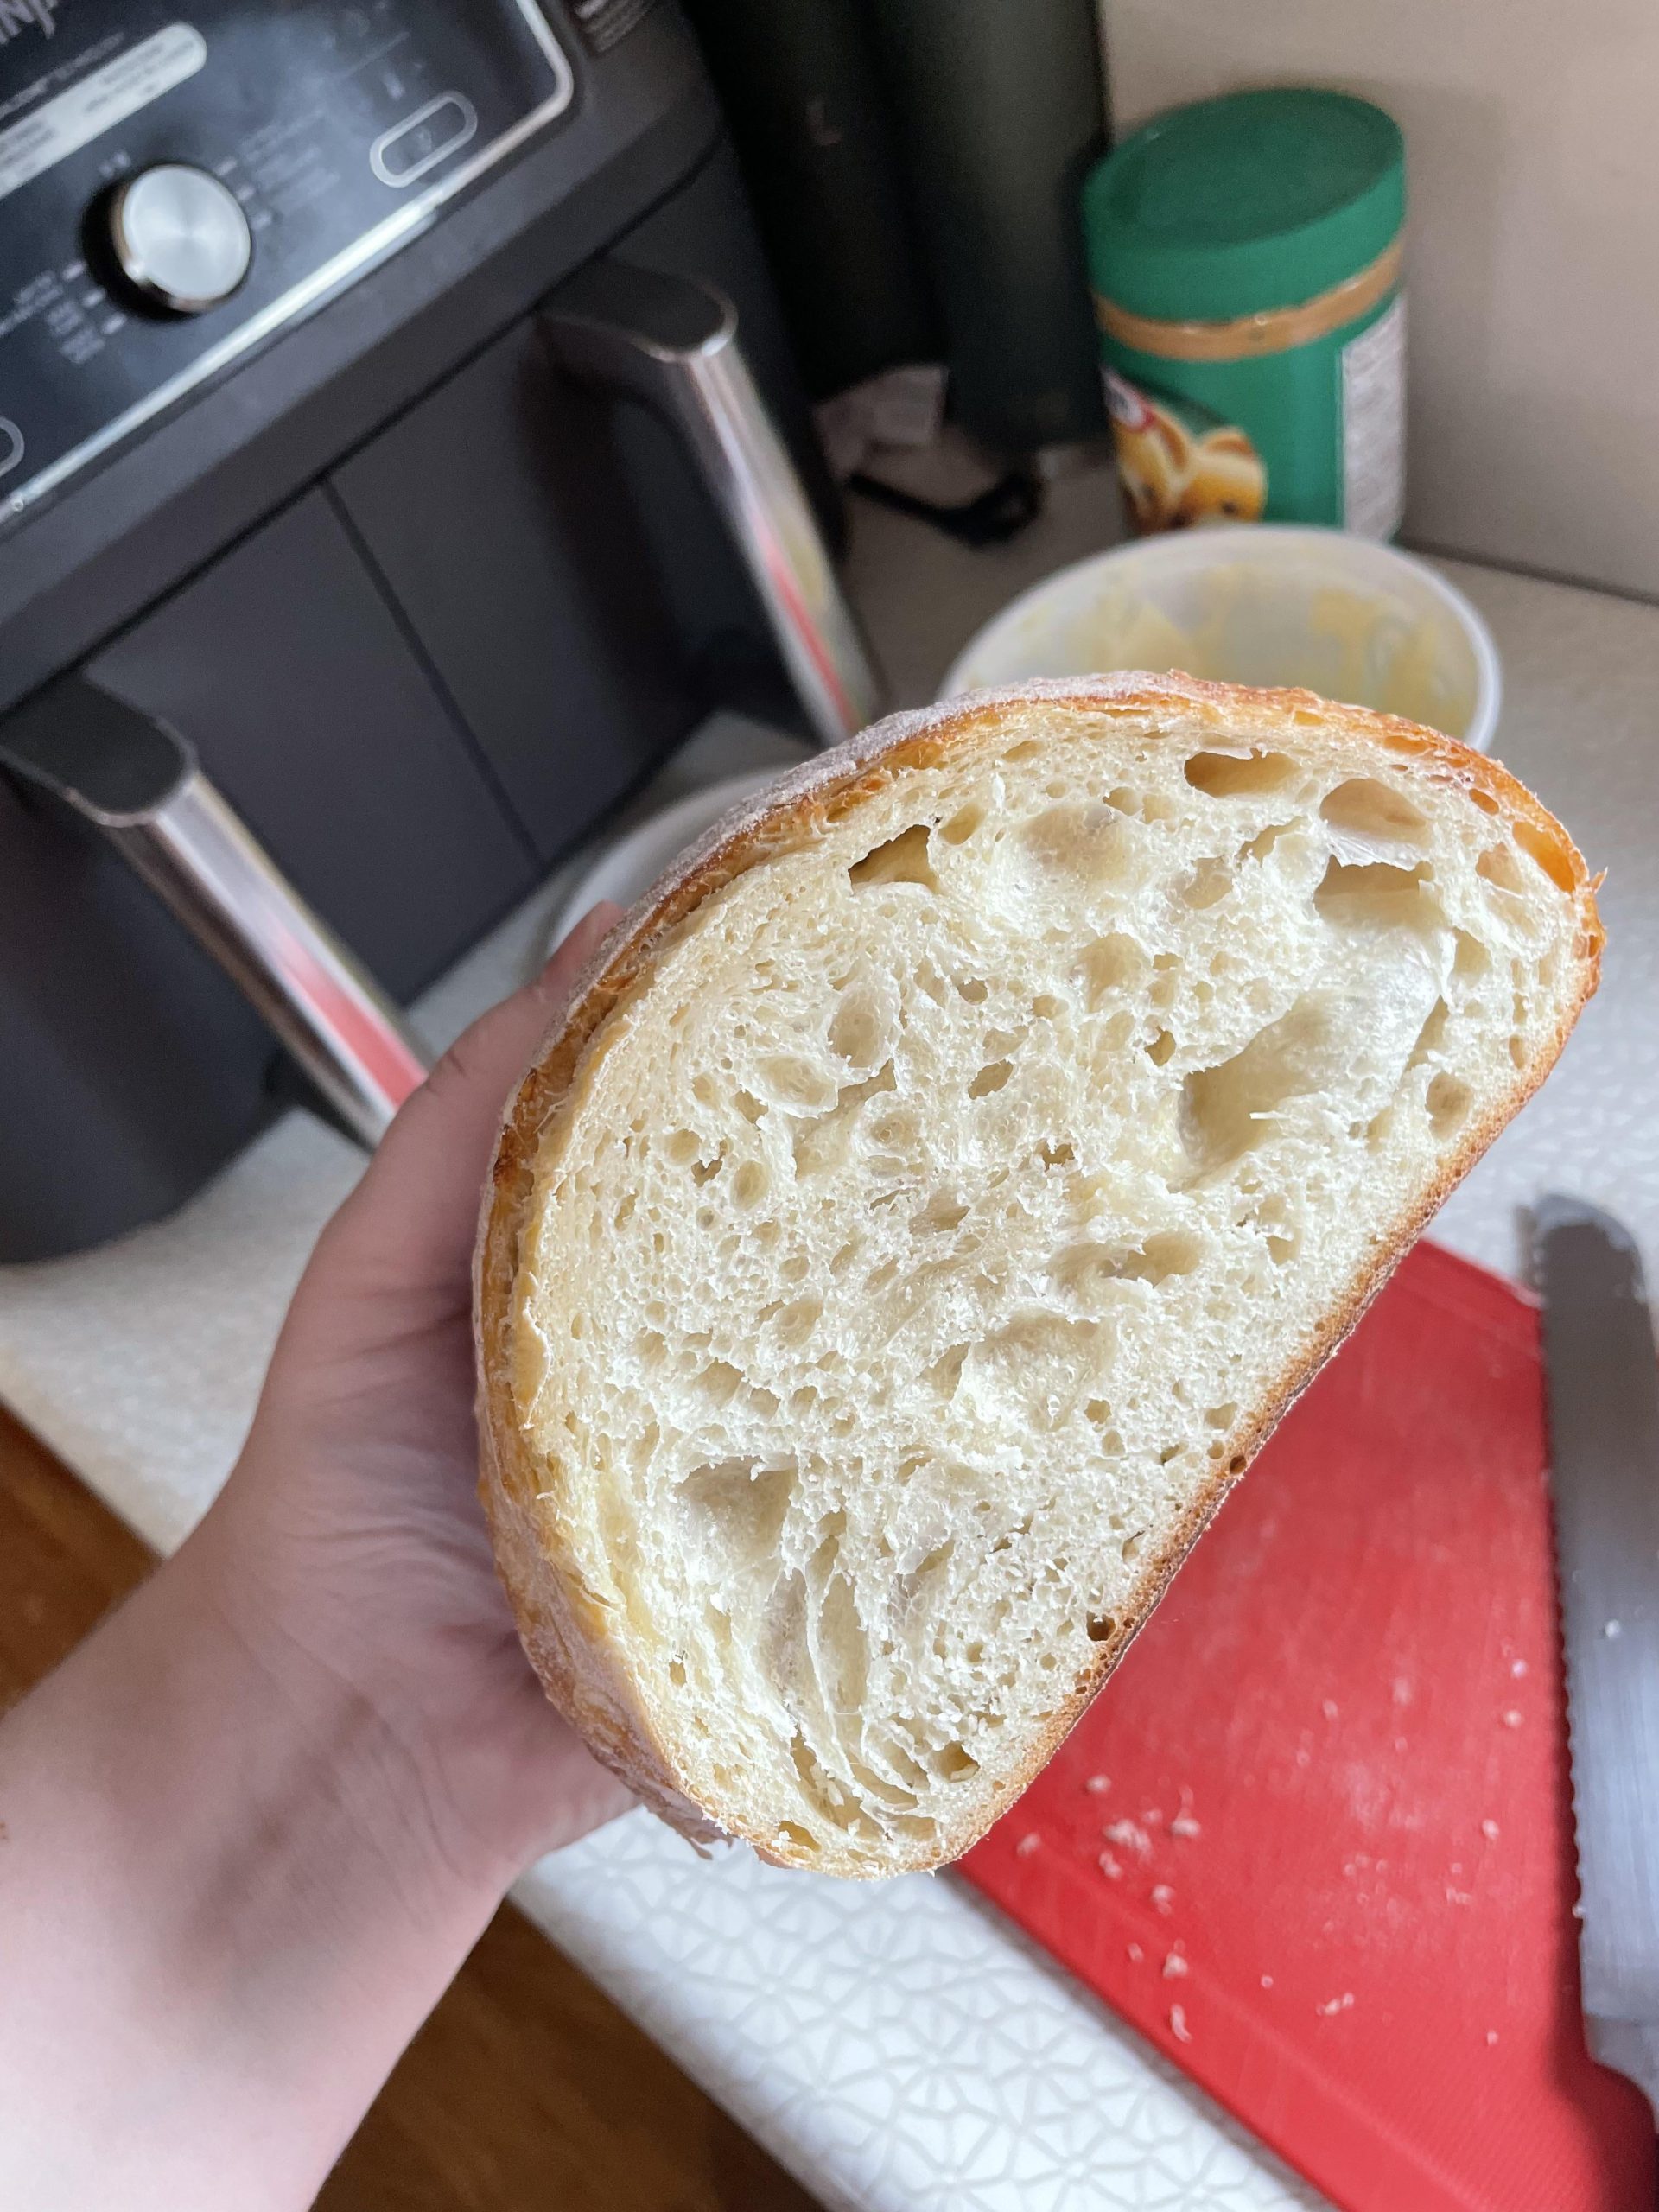
Dense Or Gummy Crumb
A dense or gummy crumb means the bread did not bake fully inside. This can happen for several reasons.
- The dough is not warmed enough before baking.
- Oven temperature is too low or uneven.
- Insufficient baking time.
- Too much moisture in the dough.
Try letting your dough sit at room temperature for 30 minutes after cold proofing. Preheat your oven well and bake longer if needed.
Flat Or Misshapen Loaf
A flat or misshapen loaf may happen if the dough loses its structure during handling or baking.
Cause How to Fix
Overproofed dough. Shorten proofing time after cold proofing
Underproofed dough: Allow the dough to rise more before baking
Improper shaping: Shape the dough tightly and evenly
Oven temperature too low. Increase oven heat and preheat thoroughly
Underbaked Interior
Underbaked bread feels soft or wet inside. The crust may look done, but the centre is not fully cooked.
- Use an oven thermometer to check the real temperature.
- Bake the bread longer or at a slightly higher temperature.
- Use a baking stone or Dutch oven for even heat distribution.
- Check internal temperature; it should reach about 205°F (96°C).

Credit: www.reddit.com
Frequently Asked Questions
How Long Should I Bake Sourdough After Cold Proofing?
Bake sourdough bread for 30 to 40 minutes at 450°F (232°C). Use a Dutch oven or baking stone for even heat. Ensure the crust turns golden brown and sounds hollow when tapped.
Should I Score The Dough Before Baking Cold-proofed Sourdough?
Yes, scoring allows the bread to expand properly during baking. Use a sharp blade to make shallow cuts on the dough surface. This creates an attractive crust and prevents unwanted cracking.
Do I Need To Preheat The Oven For Cold-proofed Sourdough?
Always preheat your oven to the baking temperature before placing the bread inside. Preheating ensures proper oven spring and crust formation. For best results, preheat for at least 30 minutes.
Can I Bake Sourdough Directly From The Refrigerator?
Yes, baking straight from the fridge preserves the dough’s shape and fermentation benefits. Cold dough can bake evenly, but may require extra baking time. Let it rest briefly if needed for easier scoring.
Conclusion
Baking sourdough after cold proofing is straightforward. Enjoy the rewarding process. The patience pays off with a tasty loaf. Each step builds to a delicious experience. Remember, practice makes perfect. Keep experimenting with flavours and textures. Sourdough offers endless possibilities for creativity.
Baking at home connects you to tradition. Share your bread with friends and family. They will appreciate your efforts. Your kitchen becomes a place of warmth. Embrace the joy of baking sourdough bread. The aroma will fill your home. Bread-making brings satisfaction like no other.
Enjoy every bite of your homemade sourdough.
Preparing Dough For Baking
After cold proofing, the sourdough dough needs careful handling before baking. Proper preparation helps achieve the best texture and crust.
Follow these steps to prepare your dough for baking right after you take it out of the fridge.
Removing Dough From Fridge
Take the dough out gently to keep its shape. Avoid shaking or squeezing it too hard. Let it sit at room temperature for a short time.
This rest helps the dough warm up slightly. It makes shaping easier and improves oven spring during baking.
Shaping And Scoring
Shape the dough carefully to create surface tension. Use your hands or a dough scraper for smooth shaping. Scoring lets steam escape and controls how the bread expands.
- Lightly flour your work surface.
- Turn the dough out gently onto the surface.
- Pull the edges toward the centre to form a tight ball.
- Flip the dough seam-side down.
- Use a sharp knife or blade to make one or more shallow cuts.
Resting Before Bake
Allow the shaped dough to rest before baking. This final rest is called the proof.
Rest TimeTemperaturePurpose
30-60 minutes Room temperature (70°F/21°C) Relax gluten for better oven spring
Up to 2 hours Cooler room (65°F/18°C) Develop flavour and crust
Choosing The Right Oven Setup
Baking sourdough bread after cold proofing requires setting it in the right oven. This helps the bread bake evenly and develop a good crust.
Choosing the best tools and preparing your oven well makes a big difference in your bread's texture and flavour.
Using A Dutch Oven
A Dutch oven traps steam inside, which helps your sourdough rise and get a crunchy crust. It creates a mini steam oven effect.
Place your dough inside the hot Dutch oven and cover it during the first part of baking. Remove the lid near the end for browning.
- Preheat the Dutch oven for 30 minutes
- Use parchment paper to transfer the dough
- Keep the lid on for the first 20-25 minutes
- Remove the lid to brown the crust for 10-15 minutes
Alternative Baking Surfaces
You can use baking stones or steel instead of a Dutch oven. These surfaces hold heat and help bake the bread evenly.
Place your dough directly on the hot surface to get a crispy bottom crust. Use steam to keep the crust moist at the start.
- Baking stone: heats slowly and holds a steady temperature
- Baking steel: heats fast and keeps high heat longer
- Use a pan with water or spray water for steam
- Preheat the surface for at least 45 minutes
Preheating Techniques
Preheating your oven well is very important. A hot oven helps the bread rise quickly and bake evenly.
Set your oven to the highest temperature it can safely reach. Let it heat for at least 30 to 45 minutes before baking.
- Use an oven thermometer to check the real temperature
- Place the Dutch oven or baking surface inside during preheating
- Do not open the door too often to keep the heat in
- Use steam early in baking to get a good crust
Baking Process Essentials
Baking sourdough bread after cold proofing takes care and attention. The cold proof helps develop flavour and texture. Baking it right ensures a crispy crust and soft inside.
Follow the key steps to bake your sourdough perfectly. Focus on the steam, oven temperature, and checking your bread as it bakes.
Creating Steam For Crust
Steam helps form a shiny, crunchy crust on sourdough bread. It keeps the dough surface wet during the first baking minutes.
Use a baking tray or pan with water in the oven. You can also spray water inside the oven before baking.
- Place a metal tray in the oven’s bottom before heating
- Pour hot water into the tray right after putting the dough inside
- Spray water on the oven walls or the dough surface to add moisture
Baking Temperature And Time
Bake sourdough bread at a high temperature to get a good rise and crust. Start hot, then lower the heat to finish baking inside.
A common approach is to bake at 450°F (230°C) for 20 minutes, then lower the temperature to 400°F (205°C) for 20-25 minutes.
- Preheat the oven fully before baking
- Use a baking stone or steel for even heat
- Adjust the time if your loaf is very large or small
Rotating And Monitoring
Rotate the bread during baking to even colour and cook it. Check the crust and colour often after the first 15 minutes.
Use an oven mitt to turn the bread carefully. Watch for too dark spots or underbaking.
- Rotate the loaf 180 degrees halfway through baking
- Look for a deep golden brown crust
- Tap the bottom for a hollow sound to check doneness

Credit: www.reddit.com
Achieving The Perfect Crust
Baking sourdough bread after cold proofing requires care to get the crust just right. The crust adds flavour and texture to your bread.
This guide helps you create a crust that is crispy and golden, making your sourdough even better.
Crust Colour And Texture
A perfect crust has a deep golden or dark brown color. This color shows the sugars in the dough caramelized well.
The texture should be crunchy on the outside but not hard or burnt. A good crust cracks slightly when sliced.
- Use high oven heat, about 450°F (230°C), for a strong crust.
- Steam in the first 10-15 minutes helps the crust stay thin and crisp.
- Bake long enough for the colour to develop, but watch to avoid burning.
Cooling For Crispness
Let the bread cool fully on a wire rack after baking. Cooling lets moisture escape and keeps the crust crisp.
Cutting the bread too soon makes the crust soft and chewy. Wait at least one hour before slicing.
- Place bread on a cooling rack to allow air flow.
- Do not cover the bread while cooling, or it will soften.
- Room temperature is best; avoid refrigerating bread immediately.
Common Crust Issues
Some common problems include crusts that are too soft, too hard, or burnt. Each issue has a simple fix.
- Soft crust: Bake longer or increase oven heat. Use steam early in baking.
- Hard crust: Lower the oven temperature slightly or shorten baking time.
- Burnt crust: Reduce oven temperature or move bread away from the heat source.
- Blistered crust: This is normal in sourdough and adds flavour.
Troubleshooting Baking Problems
Baking sourdough bread after cold proofing can be tricky. Sometimes the bread does not turn out as expected.
Knowing how to fix common issues will help you bake better loaves. Below are solutions for three common problems.
Dense Or Gummy Crumb
A dense or gummy crumb means the bread did not bake fully inside. This can happen for several reasons.
- The dough is not warmed enough before baking.
- Oven temperature is too low or uneven.
- Insufficient baking time.
- Too much moisture in the dough.
Try letting your dough sit at room temperature for 30 minutes after cold proofing. Preheat your oven well and bake longer if needed.
Flat Or Misshapen Loaf
A flat or misshapen loaf may happen if the dough loses its structure during handling or baking.
Cause How to Fix
Overproofed dough. Shorten proofing time after cold proofing
Underproofed dough: Allow the dough to rise more before baking
Improper shaping: Shape the dough tightly and evenly
Oven temperature too low. Increase oven heat and preheat thoroughly
Underbaked Interior
Underbaked bread feels soft or wet inside. The crust may look done, but the centre is not fully cooked.
- Use an oven thermometer to check the real temperature.
- Bake the bread longer or at a slightly higher temperature.
- Use a baking stone or Dutch oven for even heat distribution.
- Check internal temperature; it should reach about 205°F (96°C).
Credit: www.reddit.com
Frequently Asked Questions
How Long Should I Bake Sourdough After Cold Proofing?
Bake sourdough bread for 30 to 40 minutes at 450°F (232°C). Use a Dutch oven or baking stone for even heat. Ensure the crust turns golden brown and sounds hollow when tapped.
Should I Score The Dough Before Baking Cold-proofed Sourdough?
Yes, scoring allows the bread to expand properly during baking. Use a sharp blade to make shallow cuts on the dough surface. This creates an attractive crust and prevents unwanted cracking.
Do I Need To Preheat The Oven For Cold-proofed Sourdough?
Always preheat your oven to the baking temperature before placing the bread inside. Preheating ensures proper oven spring and crust formation. For best results, preheat for at least 30 minutes.
Can I Bake Sourdough Directly From The Refrigerator?
Yes, baking straight from the fridge preserves the dough’s shape and fermentation benefits. Cold dough can bake evenly, but may require extra baking time. Let it rest briefly if needed for easier scoring.
Conclusion
Baking sourdough after cold proofing is straightforward. Enjoy the rewarding process. The patience pays off with a tasty loaf. Each step builds to a delicious experience. Remember, practice makes perfect. Keep experimenting with flavours and textures. Sourdough offers endless possibilities for creativity.
Baking at home connects you to tradition. Share your bread with friends and family. They will appreciate your efforts. Your kitchen becomes a place of warmth. Embrace the joy of baking sourdough bread. The aroma will fill your home. Bread-making brings satisfaction like no other.
Enjoy every bite of your homemade sourdough.