Installing a KitchenAid refrigerator in a small kitchen might seem like a daunting task, but with the right guidance, you can transform your cozy space into a functional and stylish haven. You don't need to be a professional to achieve this—just a little patience and a handy guide like this one.
Imagine opening your refrigerator door without bumping into your countertops or sacrificing precious storage space. Sounds appealing, right? You'll discover how to make the most of your limited area, turning potential challenges into opportunities for creativity and efficiency. Stick around, because by the end of this article, you'll have all the tips you need to seamlessly integrate that sleek KitchenAid refrigerator into your kitchen, enhancing both its look and usability.
Ready to maximize your space and enjoy the convenience of a new appliance? Let's dive in!
Prepare The Space
Installing a KitchenAid refrigerator in a small kitchen needs careful planning. Preparing the space helps the fridge fit well and work properly.
Check the kitchen area before moving the refrigerator inside. This step saves time and avoids damage.
Measure Kitchen Dimensions
Measure the width, height, and depth of your kitchen space. Make sure the refrigerator will fit with some room for air circulation.
- Measure the width of the space where the fridge will go.
- Check the height from floor to ceiling or any cabinets above.
- Measure the depth from the wall to the front edge of cabinets or counters.
- Leave at least 2 inches of space around for ventilation.
Clear The Installation Area
Remove items and obstacles from the installation area. This makes room for the refrigerator and helps prevent accidents.
- Take out small appliances and kitchen tools.
- Clear the floor to avoid tripping hazards.
- Move furniture that blocks the path or space.
- Clean the area to remove dust and dirt.
Check Electrical And Water Connections
Verify the power outlet and water supply for the refrigerator. KitchenAid fridges often need a water line for the ice maker and dispenser.
| Connection | Requirement |
|---|---|
| Electrical Outlet | 120V grounded outlet near fridge location |
| Water Line | Cold water supply line with shut-off valve |
| Drainage | Optional, check model specifications |

Credit: www.woodcocks.us
Unpack The Refrigerator
Unpacking your new KitchenAid refrigerator carefully is important. It helps protect the appliance and prepares it for installation.
This guide will show you how to remove packaging, check for damage, and get your tools ready.
Remove Packaging Materials
Start by clearing space around the refrigerator. Remove all tape, plastic wrap, and cardboard pieces.
- Cut tape carefully to avoid scratching the surface.
- Lift off any foam or protective corners.
- Keep packaging materials until installation is complete.
Inspect For Damage
Check the refrigerator for dents, scratches, or broken parts. Look closely at the doors, handles, and back panel.
| Part | What to Check |
| Doors | Are they aligned and free of dents? |
| Handles | Are they tight and undamaged? |
| Exterior Surface | Look for scratches or dents |
| Back Panel | Check for bent or damaged parts |
Gather Installation Tools
Collect all tools needed for installation before moving the refrigerator. This saves time and effort.
- Screwdriver set
- Measuring tape
- Level
- Wrench or socket set
- Utility knife
- Protective gloves
- Flashlight
Position The Refrigerator
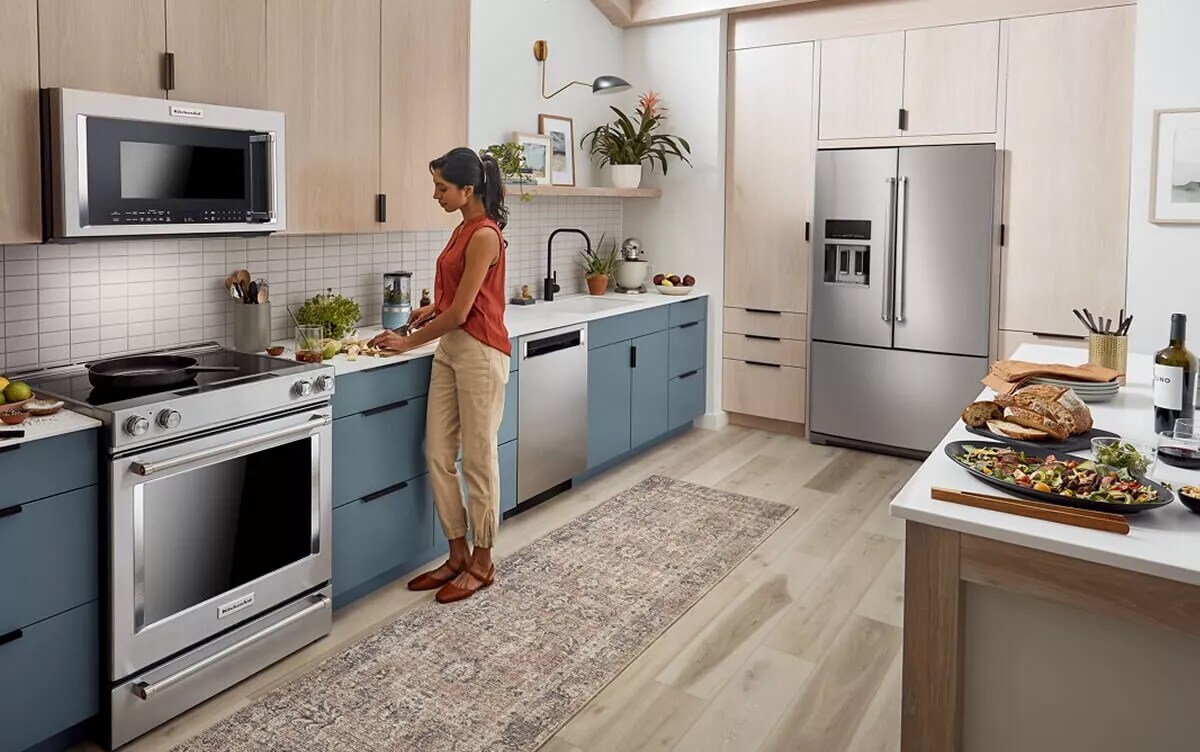
Placing a Kitchenaid refrigerator in a small kitchen needs careful planning. The right position helps save space and keeps your kitchen functional.
Think about where the fridge door opens and how you will move it into place. Adjusting the fridge properly makes it stable and safe.
Plan Door Swing Direction
Check which way the refrigerator door opens. Make sure it does not hit walls or cabinets. The door should open fully for easy access.
If needed, you can change the door swing direction. This helps fit the fridge better in tight spaces.
- Measure space around the fridge for door clearance
- Choose door side that opens toward open space
- Consider nearby cabinets and appliances
- Change door swing if the model allows
Use A Dolly For Easy Movement
A dolly helps move the heavy refrigerator without damage. It makes carrying easier and protects your floors and walls.
Lift the fridge slightly and slide the dolly underneath. Secure the fridge on the dolly before moving it.
- Use a furniture dolly with straps
- Lift the fridge carefully with help
- Keep the fridge upright during moving
- Move slowly to avoid bumps
Adjust Leveling Legs
Leveling legs keep the refrigerator steady on uneven floors. This stops the fridge from rocking or making noise.
Check the fridge with a level tool. Turn the legs to raise or lower each corner until the fridge is even.
- Locate leveling legs at the bottom corners
- Use a wrench or hands to turn the legs
- Level the fridge from front to back and side to side
- Test the fridge stability after adjusting
Credit: www.kitchenaid.com
Connect Water Supply
Installing a Kitchenaid refrigerator in a small kitchen needs careful water connection. The water supply lets the fridge make ice and cold water.
Follow these steps to connect the water line safely and avoid leaks or damage.
Turn Off Water Valve
Find the main water valve under the sink or near the fridge space. Turn the valve clockwise to stop the water flow.
This step prevents water spills when you connect the water line to the refrigerator.
Attach Water Line
Use a water line kit that fits your Kitchenaid fridge model. Connect one end to the fridge’s water inlet.
Connect the other end to the shut-off valve or water supply pipe. Tighten the fittings with a wrench but do not over-tighten.
- Check that the water line is straight and not kinked
- Use Teflon tape on threaded connections for a tight seal
- Keep the line away from heat sources and sharp edges
Check For Leaks
Turn the water valve back on by turning it counterclockwise slowly. Watch the connections for water drops or wet spots.
If you see leaks, tighten the connections carefully. Replace damaged hoses or fittings if needed to stop leaks.
Plug In And Test
Installing a Kitchenaid refrigerator in a small kitchen requires careful setup. Plugging in and testing the appliance ensures it works properly.
Follow these steps to connect the power, set the temperature, and allow the fridge to cool.
Connect Power Cord
First, find a suitable power outlet near the refrigerator. Make sure the outlet matches the plug type and has proper voltage.
Plug the refrigerator’s power cord securely into the outlet. Avoid using extension cords for safety reasons.
- Check the outlet for damage before use
- Ensure the cord is not bent or twisted
- Use a grounded outlet to prevent shocks
- Keep the plug fully inserted
Set Temperature Controls
After connecting power, set the temperature controls to the recommended settings. Kitchenaid refrigerators usually have separate controls for the fridge and freezer.
| Compartment | Recommended Temperature |
| Refrigerator | 37°F (3°C) |
| Freezer | 0°F (-18°C) |
Adjust the dials or digital controls until they reach these temperatures. This helps keep food fresh and safe.
Allow Cooling Time
Give your refrigerator time to cool after plugging it in and setting the controls. This lets the compressor run and stabilize the temperature.
- Wait at least 4 hours before placing food inside
- Keep the door closed during this time
- Check temperature with a fridge thermometer if available
Patience here ensures your Kitchenaid fridge works efficiently in your small kitchen.
Optimize Space Around Refrigerator
Installing a Kitchenaid refrigerator in a small kitchen needs smart planning. You must use space wisely to keep your kitchen functional and neat.
Good space use means better access to your fridge and more room to work. It also helps keep your kitchen safe and clean.
Maintain Proper Ventilation
Proper air flow around your refrigerator helps it run well and lasts longer. Avoid placing the fridge too close to walls or cabinets.
- Leave at least 2 inches of space on the sides and top
- Keep the back of the fridge free from dust and clutter
- Do not block vents or fans on the refrigerator
Add Storage Solutions
Use the space around the fridge for extra storage. This helps keep your kitchen organized and saves room elsewhere.
| Storage Type | Best Use |
| Wall-mounted shelves | Store spices and small jars |
| Magnetic racks | Hold knives or metal tools |
| Pull-out baskets | Keep fruits or snacks handy |
Keep Pathways Clear
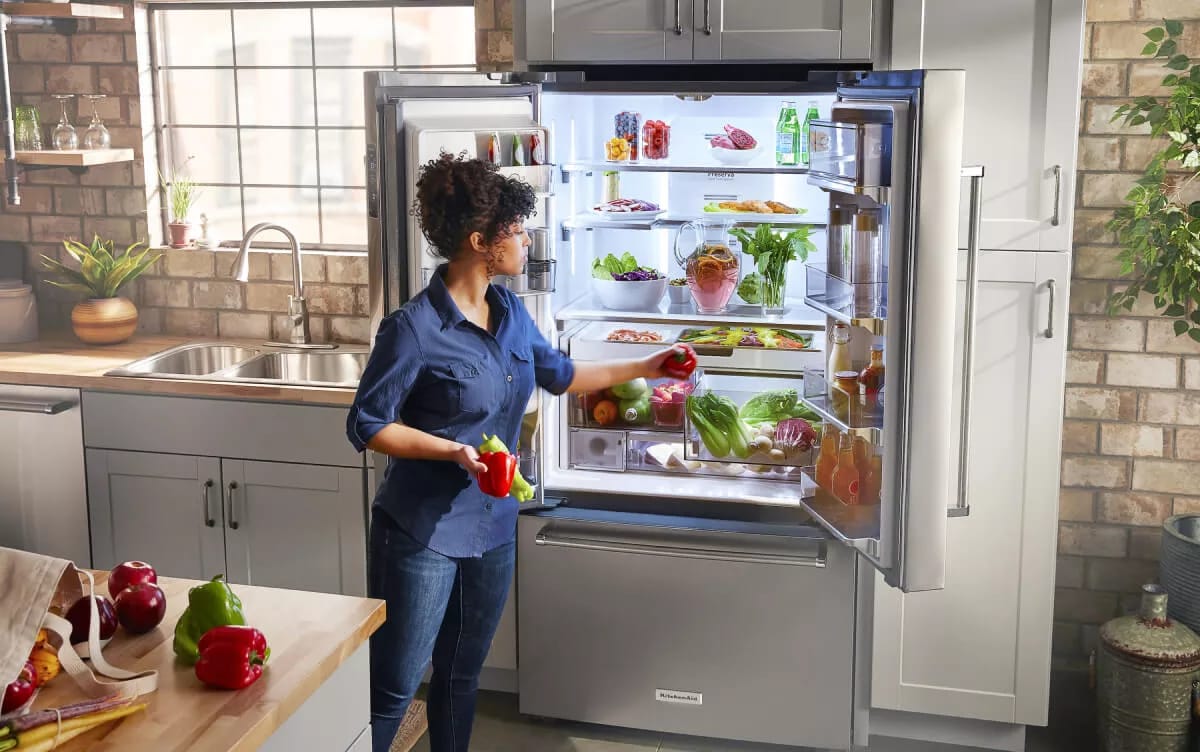
Clear paths around the refrigerator allow easy access and prevent accidents. Do not store items in front of the fridge door.
- Keep floors free of clutter and spills
- Make sure the fridge door can open fully
- Arrange kitchen tools and furniture for smooth movement
Credit: www.kitchenaid.com
Frequently Asked Questions
How Do I Measure Space For A Kitchenaid Fridge?
Measure your kitchen’s width, height, and depth carefully. Allow extra space for ventilation and door clearance. This ensures your Kitchenaid fridge fits perfectly without blocking pathways or cabinets.
What Tools Are Needed For Installation?
You will need a screwdriver, level, tape measure, and possibly a wrench. These tools help secure the fridge and make sure it’s properly aligned and stable in your kitchen.
Can I Install The Fridge Without Professional Help?
Yes, if you follow the manufacturer’s instructions closely. Ensure electrical and water connections are safe and correct. If unsure, consulting a professional avoids damage or safety hazards.
How To Optimize Fridge Placement In A Small Kitchen?
Place the fridge near a power outlet and water source if it has a dispenser. Keep it away from heat sources like ovens to improve efficiency and save space.
Conclusion
Installing a Kitchenaid refrigerator in a small kitchen can save space and add style. Careful measuring and planning make the process easier. Choose the right spot with enough clearance for doors and vents. Use proper tools and follow safety steps during installation.
Take your time to connect water and power correctly. Enjoy your new fridge that fits well and works smoothly. Small kitchens can feel bigger with smart appliance choices. This guide helps you make the best use of your space.