Is your kitchen feeling a bit cramped? Installing a dishwasher could be the solution you need, but those old kitchen tiles might be standing in your way.
Removing tiles to make space for a dishwasher doesn't have to be a daunting task. Imagine having more time to relax after meals instead of scrubbing dishes by hand. You can make that a reality by learning how to efficiently remove kitchen tiles.
In this guide, you’ll discover straightforward steps to clear the path for your new appliance. Get ready to transform your kitchen into a more functional and modern space. Keep reading to uncover the secrets to a smooth tile removal process that saves you time and headaches.
Tools And Materials Needed
Removing kitchen tiles makes space to install a dishwasher. You need the right tools and materials to do it safely and cleanly.
This guide covers the essential tools, safety gear, and preparation materials for removing kitchen tiles.
Essential Tools
Use specific tools to remove tiles without damaging walls. These tools help break and lift tiles easily.
- Hammer – to tap and loosen tiles
- Chisel or putty knife – to pry tiles off
- Utility knife – to cut grout lines
- Crowbar or pry bar – for stubborn tiles
- Bucket and sponge – to clean debris
- Trash bags – to collect removed tiles
Safety Gear
Wear safety gear to protect yourself from dust and sharp tile pieces. Safety is very important during this work.
- Safety goggles – to protect your eyes
- Work gloves – to protect your hands
- Dust mask or respirator – to avoid breathing dust
- Long sleeves and pants – to protect your skin
- Closed-toe shoes – to protect your feet
Preparation Materials
Prepare the workspace with materials that keep the area clean and safe. Proper preparation helps the job go smoothly.
- Painter’s tape – to protect edges and surfaces
- Plastic sheeting – to cover floors and cabinets
- Drop cloths – to catch falling debris
- Cleaning rags – to wipe dust and dirt
- Bucket with water – to dampen dust
Preparing The Work Area
Removing kitchen tiles needs a clean and safe work area. Getting ready helps make the job easier.
Clear space and protect nearby surfaces before starting. This prevents damage and keeps things tidy.
Clearing The Space
First, remove all items from the kitchen counters and floor near the tiles. This gives you room to work safely.
Take out appliances, dishes, and any furniture that might be in the way. A clean area helps avoid accidents.
- Clear countertops and shelves
- Move small appliances away
- Remove rugs or mats near the work zone
- Keep pets and children out of the area
Protecting Surrounding Surfaces
Cover nearby cabinets, floors, and walls with plastic sheets or drop cloths. This stops dust and debris from causing damage.
Use painter’s tape to secure covers tightly. This keeps the protection in place during tile removal.
- Use plastic sheets on cabinets and counters
- Place drop cloths on the floor
- Seal edges with painter’s tape
- Wear protective gear like gloves and goggles
Turning Off Utilities
Before removing kitchen tiles, you must turn off utilities. This keeps you safe and prevents damage.
Focus on shutting off the water supply and cutting power to the area. These steps protect you during the work.
Shutting Off Water Supply
Find the main water valve for your kitchen. Turn it clockwise to close it.
If you cannot find the main valve, use the local shutoff valve under the sink. Turn it off to stop water flow.
- Locate the water shutoff valve
- Turn the valve clockwise to close it
- Open the faucet to drain leftover water
- Check for leaks before starting work
Cutting Power To The Area
Go to your home's electrical panel. Find the breaker for the kitchen area.
Switch off the breaker to cut power. This stops electric shocks and accidents while removing tiles.
- Locate the kitchen circuit breaker
- Switch the breaker to the OFF position
- Use a voltage tester to confirm power is off
- Keep the breaker off until work is done
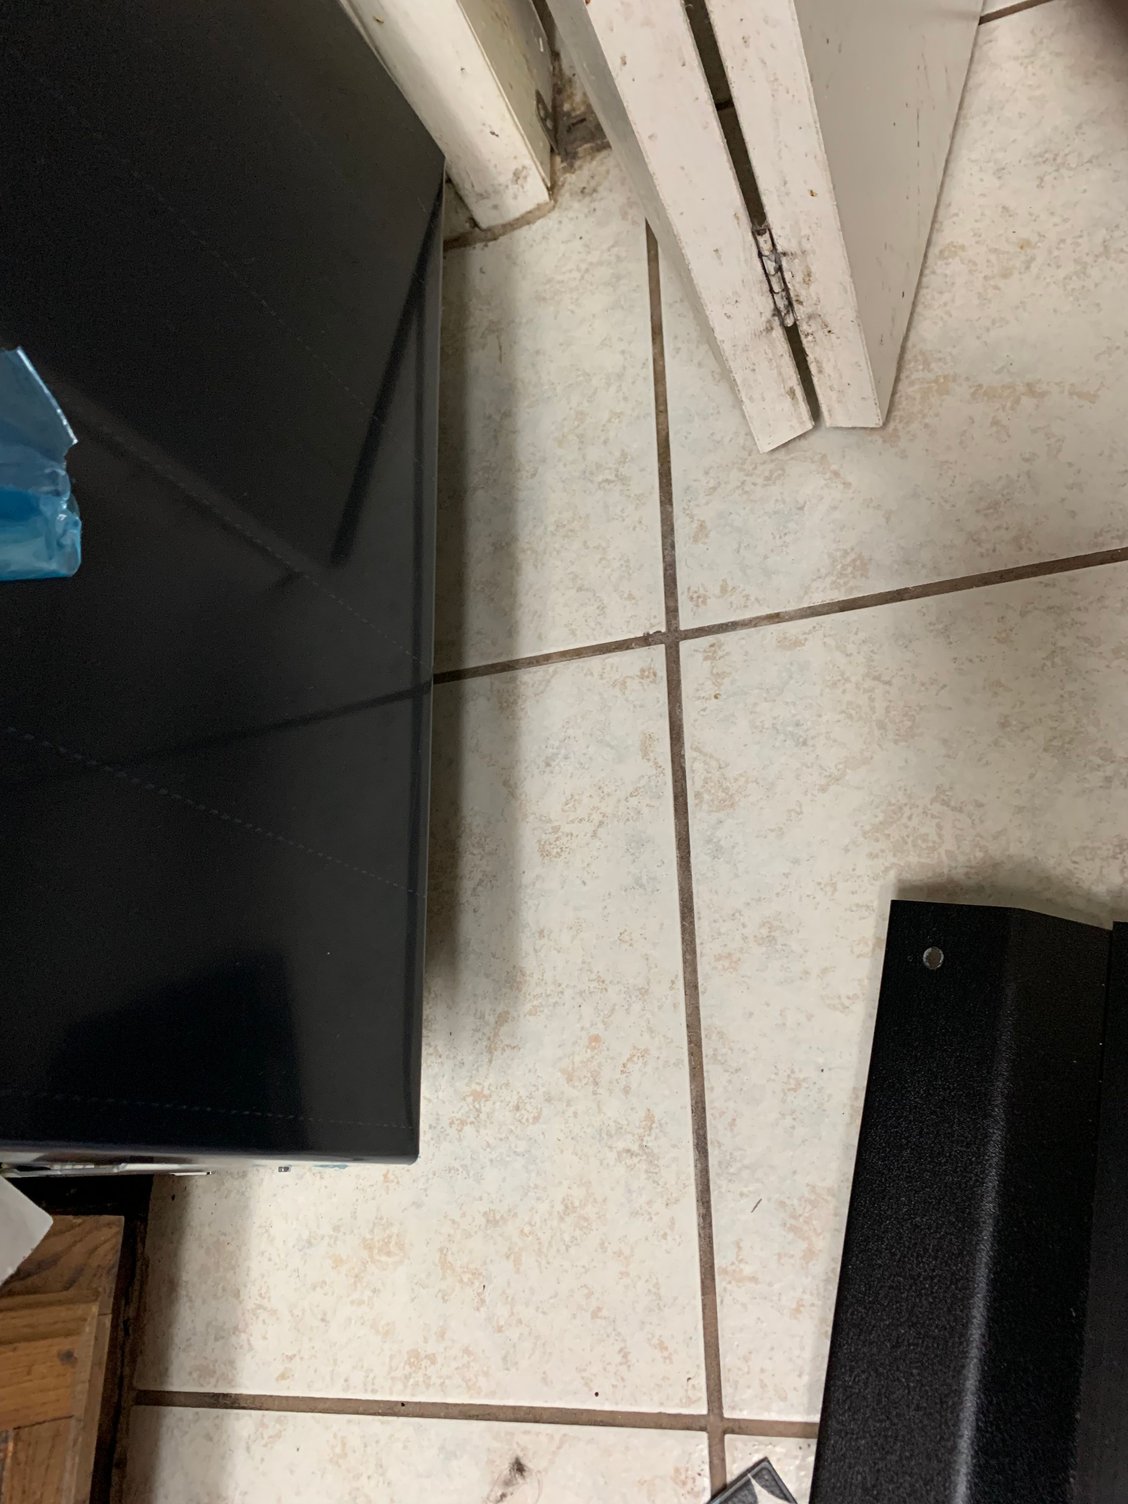
Credit: www.diychatroom.com
Removing Grout Lines
Removing grout lines is an important step when taking out kitchen tiles. It helps you loosen the tiles for easy removal.
Careful grout removal protects the wall and prepares the area for a new dishwasher space.
Using A Grout Saw
A grout saw is a small hand tool with a sharp blade. It cuts through grout lines between tiles safely.
Use slow, steady motions to avoid damaging the tiles or wall underneath. Wear safety glasses to protect your eyes.
- Hold the grout saw at a slight angle
- Run the blade along the grout lines carefully
- Remove loose grout pieces with a brush or vacuum
- Repeat until grout is fully removed
Alternative Methods
You can remove grout lines using power tools or chemicals if you prefer. Each option has pros and cons.
Use a rotary tool with a grout removal bit for faster work. Take care to control the tool well.
- Electric grout removers speed up the process
- Chemical grout removers soften grout for scraping
- Manual removal with a chisel is slow but precise
- Always wear protective gear with power tools and chemicals
Taking Out The Tiles
Removing kitchen tiles is important to make space for a dishwasher. You need to take out tiles without breaking the wall.
Work carefully to avoid damage. Use the right tools and be patient.
Loosening Tiles Carefully
Start by loosening the tiles gently. Use a putty knife or a chisel to get under the tile edges.
Tap the tool softly with a hammer to lift the tiles. Avoid strong hits to keep the wall safe.
- Wear safety goggles to protect your eyes
- Work from the edges towards the center
- Keep the tools flat to prevent wall damage
- Remove loose grout before prying tiles
Handling Stubborn Tiles
Some tiles may not come off easily. Use extra care with these stubborn tiles.
Try heating the tile with a hairdryer to soften the adhesive. Then, use a chisel to pry it gently.
- Apply heat evenly for a few minutes
- Insert the chisel under the tile edge slowly
- Lift the tile bit by bit to avoid cracking
- Use a scraper to clean leftover adhesive
Credit: www.lemon8-app.com
Cleaning The Surface
After removing kitchen tiles to make room for your dishwasher, the wall surface needs cleaning. This step ensures a smooth finish and prepares the area for new work.
Two main tasks help clean the wall: removing adhesive residue and smoothing the wall. These steps remove leftover glue and fix any damage.
Removing Adhesive Residue
Tile adhesive often sticks strongly to the wall. Removing it completely is important for a flat surface. You can use tools and cleaners for this job.
- Scrape off large glue chunks with a putty knife or scraper.
- Use a heat gun carefully to soften tough adhesive spots.
- Apply adhesive remover or rubbing alcohol on sticky areas.
- Wipe the wall clean with a damp cloth after treatment.
- Wear gloves and protect your eyes during this process.
Smoothing The Wall
Once the adhesive is removed, the wall may have rough patches or holes. Smoothing the wall helps create a good base for painting or tiling.
| Task | Tools Needed | Tips |
| Fill holes and cracks | Spackle or wall filler, putty knife | Apply thin layers and let dry fully |
| Sand uneven areas | Sandpaper (medium and fine grit), sanding block | Sand gently to avoid damage |
| Clean dust | Vacuum or damp cloth | Remove all dust before painting |
Preparing For Dishwasher Installation
Removing kitchen tiles is the first step to create space for a new dishwasher. Proper preparation helps avoid damage and makes installation easier.
This guide covers measuring the space and adjusting walls and floors for your dishwasher.
Measuring The Space
Measure the height, width, and depth of the area where you want to install the dishwasher. Accurate measurements ensure a good fit.
- Use a tape measure to check the width of the cabinet opening.
- Measure the height from the floor to the countertop.
- Check the depth from the front of the opening to the back wall.
- Note any obstacles like pipes or electrical outlets.
- Write down all measurements for reference.
Adjusting Wall And Floor
Remove tiles carefully to avoid damaging walls or floors. You may need to smooth surfaces and fix uneven areas.
| Task | Tools Needed | Tips |
| Remove tiles | Hammer, chisel, safety goggles | Work slowly to avoid wall damage |
| Clean wall | Scraper, sponge, mild detergent | Remove all glue and dust |
| Level floor | Level tool, floor patch | Fill holes and smooth uneven spots |
| Check plumbing and wiring | Flashlight, measuring tape | Make sure pipes and wires are accessible |
Disposal And Cleanup
Removing kitchen tiles creates a lot of debris. Proper disposal keeps your space safe and clean.
Cleaning the area well prepares it for installing your new dishwasher.
Safe Tile Disposal
Tile pieces can be sharp and heavy. Handle them with care to avoid injury.
Use sturdy bags or containers to collect broken tiles. Do not overload them.
- Wear thick gloves to protect your hands.
- Place tile scraps in strong, sealed bags.
- Label the bags as "sharp debris."
- Check local rules for tile disposal.
- Take tiles to a recycling center if possible.
Final Area Cleaning
After removing tiles, clean the floor and walls thoroughly. Remove all dust and glue residue.
Use a broom or vacuum to clear small debris. Wipe surfaces with a damp cloth.
- Sweep or vacuum the entire area carefully.
- Scrape off leftover adhesive with a putty knife.
- Use warm water and mild detergent to wash surfaces.
- Dry the area completely before installing the dishwasher.

Credit: www.create-enjoy.com
Frequently Asked Questions
How Do I Safely Remove Kitchen Tiles?
Start by protecting surfaces and wearing safety gear. Use a hammer and chisel to gently lift tiles. Work slowly to avoid damaging the wall beneath.
What Tools Are Needed To Remove Kitchen Tiles?
You will need a hammer, chisel, putty knife, safety goggles, gloves, and a dust mask. A heat gun can help loosen adhesive.
Can I Remove Tiles Without Damaging The Wall?
Yes, by working carefully and using the right tools, you can minimize wall damage. Take your time and avoid prying too hard.
How Long Does It Take To Remove Kitchen Tiles?
Removing kitchen tiles usually takes a few hours to a full day, depending on the tile size and wall condition.
Conclusion
Removing kitchen tiles to fit a dishwasher takes some effort. Start slow and use the right tools. Take care not to damage walls or floors. Clean the area well before installing the dishwasher. This makes the space ready and neat.
Following these steps helps the job go smooth. Your kitchen will look fresh and work better. Enjoy the new convenience of your dishwasher!