
Are your silicone baking cups causing your muffins to stick and crumble? You’re not alone.
Knowing how to grease silicone baking cups properly is the simple solution that can save your precious creations and your sanity. Many home bakers face the frustrating challenge of removing baked goods from silicone cups without damage.
In this guide, you’ll discover the secret to greasing silicone baking cups effectively, ensuring your treats pop out perfectly every time.
Imagine the satisfaction of watching your muffins slide out effortlessly, maintaining their shape and deliciousness. Stay with us, and you’ll learn the easy steps that can transform your baking experience from stressful to delightful. Your kitchen success story begins here!
Credit: kitchenpluse.com
Benefits Of Greasing Silicone Cups
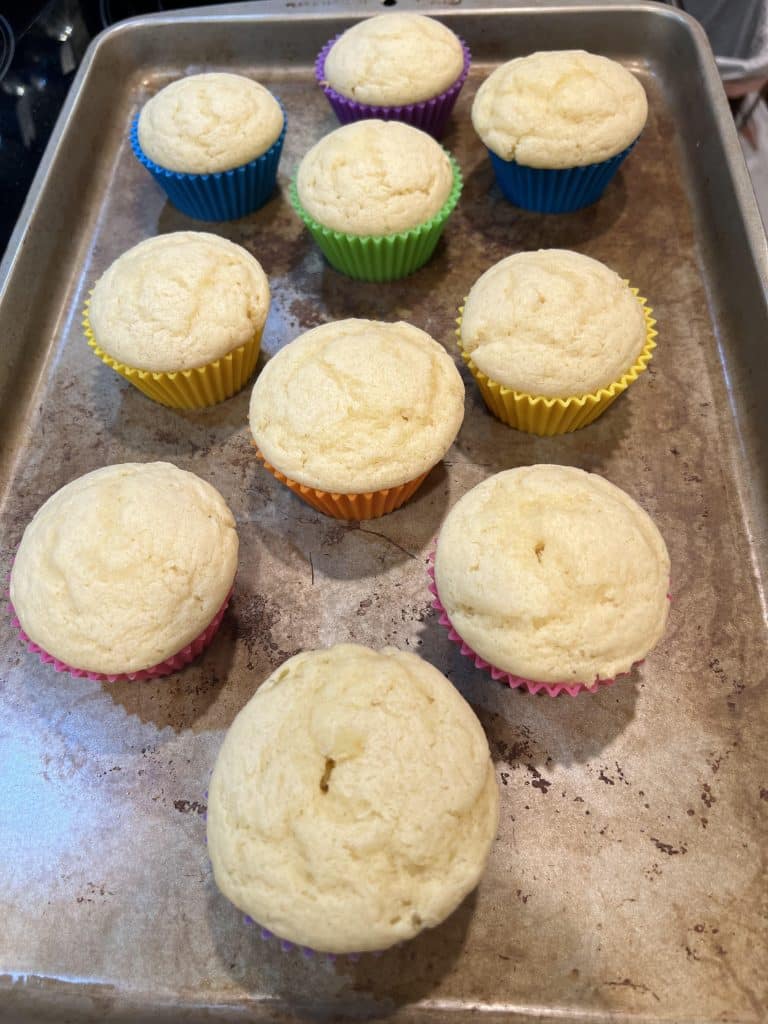
Silicone baking cups are popular for baking cupcakes and muffins. Greasing these cups can improve your baking results.
Using grease helps prevent sticking and makes cleanup easier. It also keeps the baked goods looking perfect.
Prevents Sticking
Greasing silicone cups creates a smooth surface. This stops cakes and muffins from sticking to the cup.
When the baked goods come out easily, they keep their shape and look better.
Makes Cleaning Easier
Greased silicone cups have less residue left behind. This reduces the time and effort needed to clean them.
You can quickly rinse or wipe the cups after use, keeping them ready for the next baking session.
Improves Appearance Of Baked Goods
Greasing helps baked items release smoothly without tearing or breaking. This keeps cupcakes and muffins neat.
The smooth edges and clean bottoms make your baked treats look professional and appealing.
Protects Silicone Cups
Greasing can protect the silicone material from damage. It reduces direct contact with heat and sticky batter.
This helps your silicone cups last longer and stay in good condition after many uses.
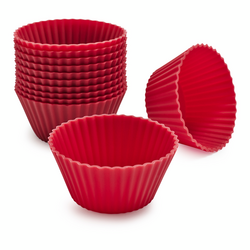
Choosing The Right Grease
Using the right grease helps silicone baking cups release baked goods easily. Some greases work better than others with silicone.
Picking a suitable grease keeps your treats intact and your cups clean. Let’s explore some common options.
Oils And Fats
Oils and fats can coat silicone baking cups well. They create a thin barrier between the cup and the food.
Common choices include vegetable oil, butter, and shortening. Each has its own benefits for baking.
- Vegetable oil is light and easy to spread.
- Butter adds flavor and browns the edges.
- Shortening is solid and prevents sticking effectively.
Non-stick Sprays
Non-stick sprays are quick and convenient for greasing silicone cups. They usually contain oil and a propellant.
These sprays provide an even coat and reduce mess. Some sprays are made for baking and safe at high heat.
- Use baking-specific sprays for best results.
- Spray from a distance to cover evenly.
- Check ingredients to avoid unwanted flavors.
Alternatives To Grease
You can skip grease by using silicone baking cups that are non-stick by design. These cups often release food easily.
Other options include lining cups with paper liners or using flour dusting after oiling. These help prevent sticking without extra grease.
- Non-stick silicone cups reduce the need for grease.
- Paper liners add a disposable, non-stick layer.
- Light flour dusting helps baked goods release cleanly.
Step-by-step Greasing Process
Using silicone baking cups is easy and fun. Greasing them helps your baked goods come out clean.
This guide shows simple steps to grease silicone cups well. Follow each part for best results.
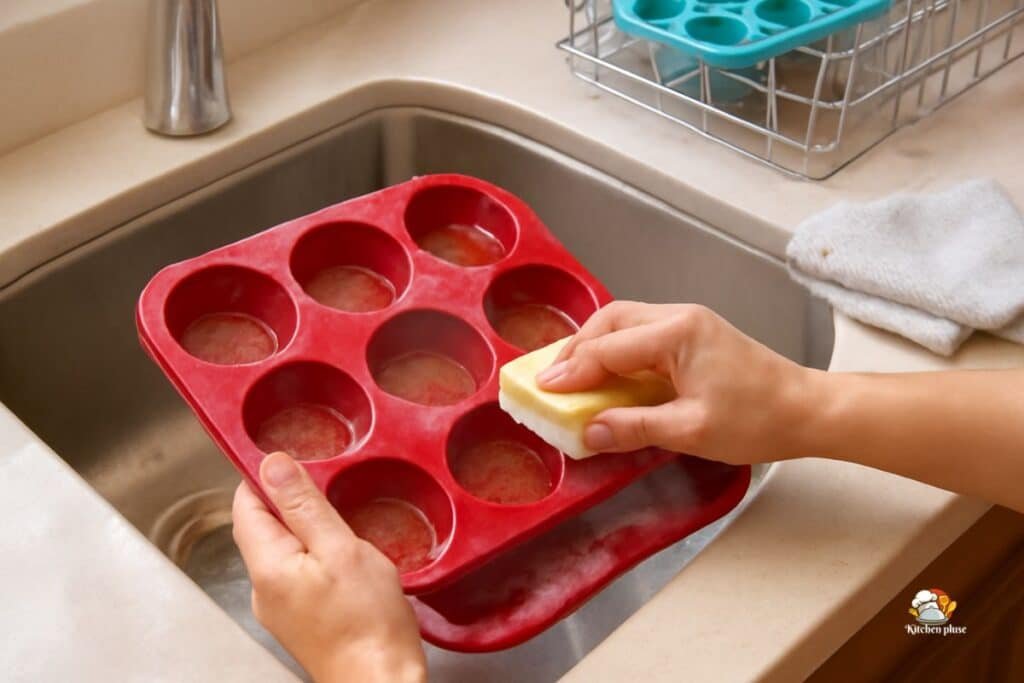
Cleaning The Cups
Clean cups before greasing. Remove dust, food bits, or oils that may stick to your batter.
Use warm water and mild soap. Rinse well and dry with a soft cloth or let air dry.
Applying Grease Evenly
Spread a thin layer of grease to cover every part inside the cup. Use oil or butter.
Use a brush, paper towel, or your fingers. Make sure the grease is smooth and not thick.
- Dip brush or towel in grease
- Coat the bottom and sides of the cup
- Check for any bare spots and cover them
Tips For Hard-to-reach Areas
Silicone cups may have curves or edges that are hard to reach. Use small tools to help.
Try cotton swabs or a small paintbrush. These tools help apply grease evenly in tight spots.
- Use cotton swabs for corners and edges
- Use a small brush for detailed shapes
- Apply extra grease if needed in tricky spots

Credit: www.amazon.ca
Common Mistakes To Avoid
Using silicone baking cups is easy, but greasing them can be tricky. Many people make mistakes that cause baked goods to stick or become greasy.
Learning the right way to grease silicone cups helps you bake better treats every time.
Using Too Much Grease
Adding too much oil or butter makes silicone cups slippery. This can cause baked items to lose shape or slide out too fast.
Use a small amount of grease and spread it thinly with a brush or paper towel.
Skipping Grease Altogether
Some believe silicone cups do not need grease. This is true for many recipes but not all.
Grease cups lightly if your recipe has sticky ingredients like cheese or syrup.
Using The Wrong Grease
Greasing with thick butter or heavy creams can leave residue. This makes cleaning harder and affects taste.
Choose light oils or non-stick sprays designed for baking.
Not Cleaning Cups Properly Before Greasing
Greasing dirty silicone cups traps old crumbs and oils. This affects the taste and texture of your baked goods.
Wash and dry cups completely before adding any grease.
Greasing Inside And Outside Of Cups
Greasing the outside of silicone cups does not help baking. It can cause slipping inside the oven or storage issues.
Only grease the inside surface where the batter touches.
Maintenance And Care For Silicone Cups
Silicone baking cups are easy to use and reuse. Taking good care of them helps keep them in shape for a long time.
Greasing silicone cups is sometimes needed to stop sticking. Proper cleaning and storage also keep them ready for baking.
Cleaning After Use
Wash silicone cups with warm water and mild soap after each use. Avoid harsh chemicals that can damage the silicone.
Use a soft sponge to remove any leftover grease or food. Dry them well before storing to prevent mold or odors.
- Soak cups in warm soapy water for tough stains
- Rinse thoroughly to remove soap residue
- Dry completely with a clean towel or air dry
Storage Tips
Store silicone cups in a cool, dry place to keep their shape. Avoid stacking heavy items on top to prevent deformation.
Keep them away from sharp objects that could tear the silicone. Use a container or drawer to keep them organized and clean.
- Keep cups flat or stacked gently
- Use a breathable container or bag
- Store away from direct sunlight and heat
Troubleshooting Baking Issues
Silicone baking cups are popular for their convenience and reusability. Greasing them properly helps avoid baking problems.
This guide covers common issues like sticking, uneven baking, and grease residue concerns. Learn how to fix these problems.
Sticking Problems
Even though silicone cups are non-stick, some foods may still stick if not greased correctly. This can cause tearing or misshaped treats.
- Use a light coating of oil or butter before adding batter.
- Apply grease evenly with a brush or paper towel.
- Allow the grease to set for a few minutes before pouring batter.
- Let baked goods cool slightly before removing from cups.
Uneven Baking
Uneven baking may happen if grease blocks heat or cups are overcrowded. This leads to raw spots or burnt edges.
| Cause | Effect | Solution |
| Thick grease layer | Slower heat transfer | Use a thin, even grease coat |
| Overcrowded cups | Uneven heat circulation | Space cups evenly on baking tray |
| Cold batter | Longer baking time | Use room temperature batter |
Grease Residue Concerns
Excess grease can leave residue on baked goods or cups. This affects taste and cleaning effort.
Follow these tips to reduce grease residue:
- Apply only a thin layer of grease.
- Use food-safe oils with neutral flavor, like vegetable or canola oil.
- Wipe off extra grease with a paper towel.
- Wash silicone cups thoroughly after use.
Credit: www.surlatable.com
Frequently Asked Questions
How Do You Grease Silicone Baking Cups Properly?
To grease silicone baking cups, lightly coat the inside with oil or butter. Use a brush or paper towel for even coverage. This prevents sticking and ensures easy release of baked goods without residue or damage.
Is Greasing Silicone Cups Necessary For Baking?
Greasing silicone cups is optional but recommended for sticky recipes. It helps release cakes or muffins smoothly. Some silicone molds are non-stick, but a light grease layer improves baking results and cleanup.
What Type Of Grease Works Best For Silicone Cups?
Use vegetable oil, melted butter, or non-stick spray to grease silicone cups. These options provide a thin, even coating that prevents sticking. Avoid heavy greases that can pool or burn during baking.
Can I Reuse Silicone Baking Cups Without Greasing?
Yes, you can reuse silicone baking cups without greasing if they are high-quality and non-stick. However, greasing improves release and prevents residue, especially with sticky or delicate batters.
Conclusion
Greasing silicone baking cups helps your baked goods come out easily. Use a small amount of oil or butter for best results. Avoid too much grease to prevent soggy bottoms. A light coating keeps cupcakes and muffins intact. Silicone cups are easy to clean after greasing.
Try different greasing methods to find what works for you. Baking becomes less messy and more fun this way. Remember, simple steps make baking smoother and more enjoyable.


