
Are you tired of dealing with messy and overflowing trash cans in your kitchen? The Rack Sack Kitchen Trash Can System might be the solution you’ve been searching for.
Imagine a kitchen where waste management is effortless and your trash stays neatly organized, leaving you with more time and less hassle. In this guide, you’ll discover how to use the Rack Sack system effectively, transforming your kitchen into a cleaner and more efficient space.
Let’s dive into the simple steps that can revolutionize the way you handle kitchen waste, making your daily routine smoother and more enjoyable.
Rack Sack System Basics
The Rack Sack Kitchen Trash Can System helps keep trash bags secure and hidden. It fits inside your cabinet or under the sink.
This system makes changing trash bags cleaner and easier. It holds the bag open and prevents it from slipping.
Key Components
The Rack Sack System has a few main parts that work together. Each part helps hold the trash bag in place.
- Metal Rack:This frame holds the trash bag open.
- Bag Holder Clips:Clips secure the bag to the rack.
- Mounting Brackets:These attach the rack inside a cabinet or drawer.
- Trash Bag:The bag fits inside the rack and clips.
How It Works
You place the trash bag inside the metal rack. Then, use the clips to hold the bag’s edges tightly.
The mounting brackets keep the rack steady in one place. This stops the bag from falling or slipping.
- Open the cabinet or drawer where you want to install the rack.
- Attach the mounting brackets inside.
- Set the metal rack on the brackets.
- Place the trash bag inside the rack.
- Use clips to fasten the bag edges to the rack.
- Close the cabinet or drawer. The bag stays hidden and secure.
Credit: www.homehardware.ca
Setting Up The Rack Sack
The Rack Sack kitchen trash can system helps keep your kitchen clean and organized. Setting it up right makes trash disposal easier and faster.
This guide shows how to set up the rack sack in simple steps. Follow the instructions to install it correctly.
Choosing The Right Spot
Pick a spot in your kitchen that is easy to reach. The location should not block doors or walkways.
Make sure there is enough space for the rack and sack to hang freely. Avoid places near heat or water sources.
- Near the sink or food prep area
- Under a counter or cabinet edge
- Clear of obstacles and spills
- Accessible to all household members
Installing The Rack
Use the rack that comes with the system. Attach it firmly to your chosen spot so it does not move.
Most racks have hooks or clamps. Secure them tightly to avoid the rack falling when trash is added.
- Align the rack with the edge of the cabinet or counter
- Use screws, clamps, or hooks provided
- Check that the rack is level and stable
- Test by gently pulling the rack
Attaching The Sack
Place the trash sack inside the rack. Make sure the sack fits well without slipping.
Secure the sack edges over the rack hooks or frame. This keeps the sack open and ready for use.
- Open the sack fully before placing it in the rack
- Fold the top edges over the rack hooks
- Check that the sack hangs straight and tight
- Replace the sack when full or dirty
Daily Use Tips
Using the Rack Sack Kitchen Trash Can System makes kitchen cleanup easy. With a few simple habits, you can keep your trash area tidy and odor-free.
This guide shares useful tips for daily use. Follow these to get the most from your trash can system.
Loading Trash Efficiently
Place trash in the sack evenly to avoid overfilling one side. This keeps the sack balanced and helps the rack hold it securely.
- Flatten boxes before tossing them in
- Wrap wet or messy waste in paper or old bags
- Keep sharp objects at the bottom to avoid punctures
- Don’t overload the sack to prevent tearing
Securing The Sack
Make sure the sack is tightly fastened to the rack. This stops it from slipping or falling into the trash can.
| Secure Method | Details |
| Elastic Band | Wrap the elastic band around the sack’s edge and rack frame |
| Clips | Use clips to hold the sack firmly on the rack sides |
| Tie Handles | Twist and tie sack handles around the rack hooks |
Managing Odors
Keep your trash can smelling fresh with simple odor control steps. These prevent smells from building up inside the sack.
- Place baking soda or charcoal bags at the bottom of the sack
- Use scented trash bags if preferred
- Empty the trash regularly to avoid long-term odor
- Rinse the rack and trash can weekly with mild soap and water
Maintenance And Cleaning
Keeping your Rack Sack Kitchen Trash Can System clean helps it last longer. Regular care stops bad smells and damage.
Follow simple steps to clean the rack, replace the sack, and prevent wear and tear. This keeps your kitchen tidy and safe.
Cleaning The Rack
Remove the sack before cleaning the rack. Use a damp cloth with mild soap to wipe down all parts.
Dry the rack completely to stop rust or mold from forming.
Replacing The Sack
- Take off the full sack carefully to avoid spills.
- Check the rack for any leftover trash or dirt.
- Place a new sack inside the rack, making sure it fits tightly.
- Secure the sack edges under the rack clips or holders.
- Press the sack down gently to avoid air pockets.
Preventing Wear And Tear
| Tip | Action |
|---|---|
| Avoid Overloading | Do not fill the sack beyond its capacity. |
| Use Proper Sacks | Choose sacks that fit the rack size. |
| Handle with Care | Lift the rack gently to prevent bending. |
| Keep Dry | Wipe off spills quickly to avoid rust. |
Troubleshooting Common Issues
The Rack Sack Kitchen Trash Can System is easy to use but may have some common problems. This guide helps you fix those issues quickly.
Knowing how to handle these problems saves time and keeps your kitchen clean and tidy.
Sack Slipping Off
Sacks can slip off if they are not secured well. This happens when the sack is too small or not tied tightly.
Check the sack size and make sure to pull it tight over the rack. Secure the edges under the rack clips if available.
- Use sacks that fit the rack size.
- Pull the sack edges firmly over the rack.
- Tuck the sack under the clips or hooks.
- Replace the sack if it is torn or weak.
Rack Stability Problems
A loose or wobbly rack can cause the trash system to fall or tip over. This may happen if the rack is not placed on a flat surface.
Make sure the rack legs or base sit flat on the floor. Tighten any screws or bolts if your rack has them.
- Place the rack on a level floor.
- Check for any broken or bent parts.
- Tighten screws or bolts as needed.
- Avoid overloading the rack with heavy trash.
Dealing With Leaks
Leaks happen when liquids spill inside the sack or when the sack has holes. This can cause unpleasant smells and mess.
Use strong, leak-proof sacks and avoid putting sharp objects inside. Double bag if you throw away wet trash.
- Choose thick, leak-resistant trash sacks.
- Double bag wet or messy trash.
- Check sacks for holes before use.
- Clean the rack regularly to avoid build-up.

Credit: www.amazon.com
Benefits Of Rack Sack System
The Rack Sack Kitchen Trash Can System is a smart way to manage kitchen waste. It helps keep your kitchen clean and organized.
This system uses racks to hold trash bags firmly. It makes trash handling easier and more efficient.
Space Saving
The Rack Sack system fits neatly in small spaces. It uses vertical racks to hold trash bags, saving floor space.
This design works well in tight kitchens or busy areas. You can store trash bags without cluttering your counters.
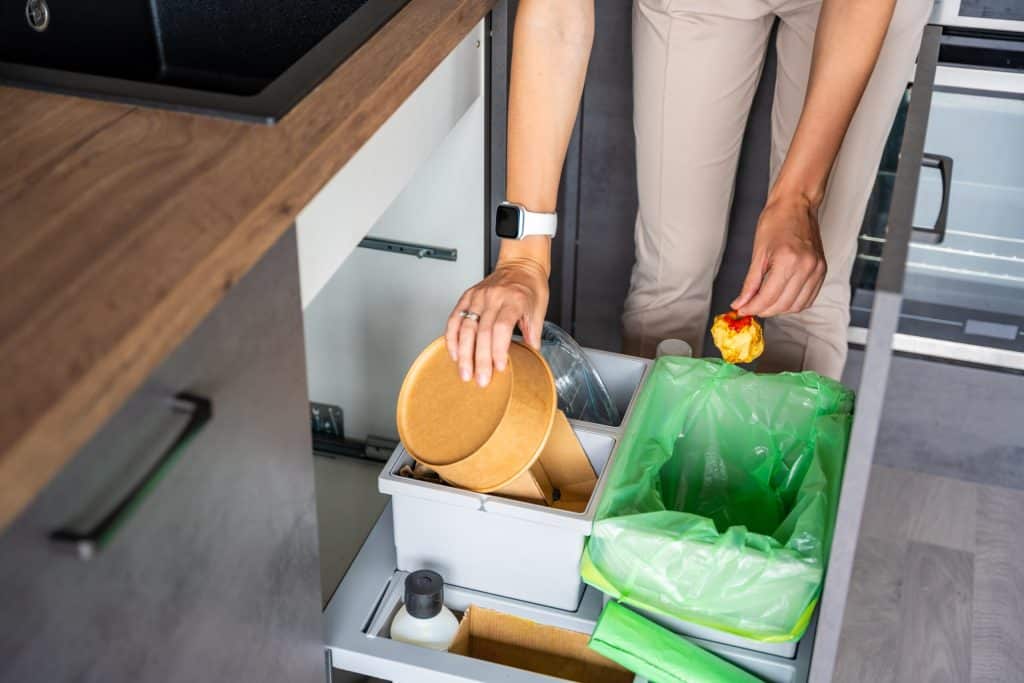
Improved Hygiene
The system keeps trash bags off the floor. This lowers the chance of spills and bad smells.
It also makes it easy to change bags quickly. Clean hands and surfaces help stop germs from spreading.
Eco-friendly Options
You can use biodegradable or compostable bags with the Rack Sack system. This supports reducing plastic waste.
The system encourages proper trash sorting. It helps separate recyclables from regular waste easily.
- Use eco-friendly bags
- Sort waste for recycling
- Reduce plastic use

Credit: www.amazon.com
Frequently Asked Questions
What Is The Rack Sack Kitchen Trash Can System?
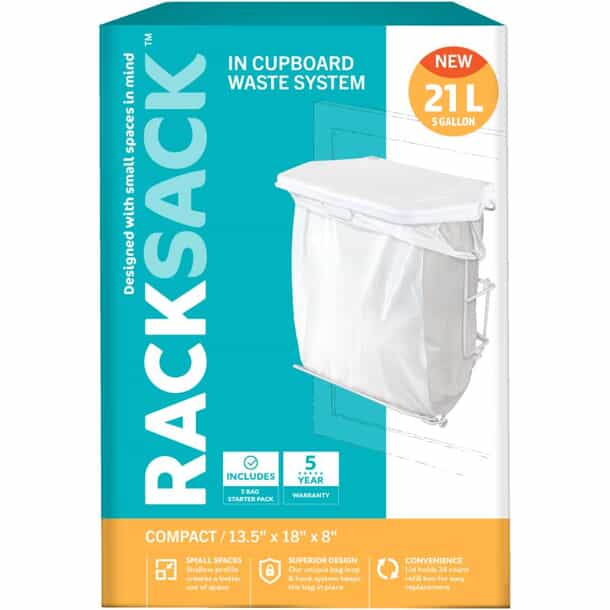
The Rack Sack system is a space-saving trash can setup that hangs bags on a rack. It keeps trash bags open and stable, making waste disposal cleaner and easier in kitchens.
How Do I Install The Rack Sack System?
Installation is simple: attach the rack inside a cabinet door. Hang the trash sack on hooks or clips. No tools are usually needed, making setup quick and hassle-free.
Can Rack Sack Fit Different Trash Bag Sizes?
Yes, the Rack Sack system is adjustable. It can hold various bag sizes, from small liners to larger kitchen trash bags. This flexibility suits different waste disposal needs.
How Does Rack Sack Improve Kitchen Cleanliness?
By keeping the trash bag open and off the floor, Rack Sack reduces spills and mess. It also prevents bags from slipping, maintaining a cleaner kitchen environment.
Conclusion
Using the Rack Sack Kitchen Trash Can System keeps your kitchen neat and clean. It fits easily in small spaces and holds trash securely. Changing bags is quick and hassle-free. This system saves time and reduces mess. Anyone can set it up without special tools.
It helps keep odors under control. A simple addition for better kitchen waste management. Try it for a smoother trash routine every day. Clean kitchen, less stress. That’s the goal.


