
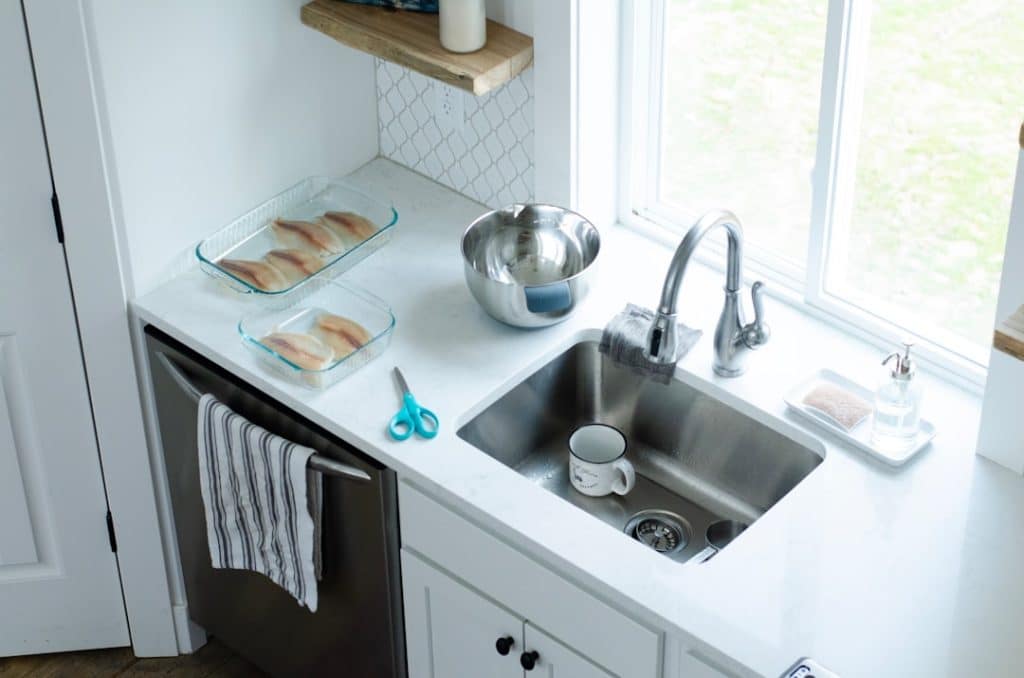
Are you ready to create a drawing that looks both simple and impressive? Learning how to draw a kitchen sink step by step is easier than you think.
Whether you want to add it to a home sketch or just practice your drawing skills, this guide will help you get it right every time. You’ll discover clear, easy steps that anyone can follow, no matter your experience level.
By the end, you’ll have a drawing that feels real and detailed—something you’ll be proud to show off. Let’s dive in and bring your kitchen sink to life on paper!
Materials Needed
Drawing a kitchen sink requires a few basic materials. These tools help you create clear and precise sketches.
Gathering the right supplies makes the drawing process easier and more enjoyable. You will need items for sketching and detailing.
Drawing Tools
- Pencils (HB, 2B, 4B)
- Eraser
- Sharpener
- Ruler
Pencils with different hardness help you add light and dark lines. A good eraser removes mistakes cleanly.
Paper And Surface
Use smooth drawing paper for clean lines. A flat surface supports steady hand movement.
| Type of Paper | Recommended Size |
| Sketch Paper | A4 or Letter |
| Drawing Pad | Any size |
Additional Supplies
Some extra tools help add details and color to your drawing. These are optional but useful.
- Colored pencils or markers
- Blending stump or cotton swabs
- Fine-tip pens for outlining

Credit: manuals.plus
Basic Shapes And Structure
Drawing a kitchen sink starts with simple shapes. These shapes help build the sink’s basic form.
Focus on the main parts first. This makes the drawing clear and easy to follow.
Drawing The Sink Basin
Begin by sketching a rectangle for the sink basin. This shape shows where water collects.
Add rounded corners to the rectangle. This makes the basin look more natural and smooth.
- Start with a simple rectangle shape
- Round the corners slightly
- Draw a smaller rectangle inside for the basin depth
Sketching The Faucet And Handles
Draw a curved line above the basin for the faucet. This line shows the water spout.
Add two small circles or ovals on each side for the handles. These control the water flow.
- Use a curved line to draw the faucet neck
- Draw an oval or circle for the faucet head
- Add two small circles for hot and cold handles
Adding Details
Adding details makes your kitchen sink drawing look real. Small parts create depth and interest.
Focus on key elements like the drain, strainer, and faucet. These parts bring your sketch to life.
Creating The Drain And Strainer
Start by drawing a small circle inside the sink basin for the drain. This circle shows where water leaves the sink.
Add a strainer inside the drain circle. Draw small holes or slits in a pattern to show it catches debris.
- Draw a thin ring around the drain for the metal edge.
- Use tiny dots or short lines inside the circle to show holes.
- Keep the shapes simple and clear.
Designing The Faucet Features
Draw the faucet above the sink basin. Start with the base where it attaches to the sink.
Add the spout by sketching a curved tube. Show where the water flows out at the end.
- Include handles or knobs on each side of the faucet base.
- Draw small lines or circles on the handles to show texture.
- Use smooth curves for a natural look.

Credit: www.freepik.com
Shading And Texture
Shading and texture give your kitchen sink drawing a real look. They show how light hits the surface and how the material feels.
Using shading and texture helps your drawing look three-dimensional and more interesting to the eye.
Applying Light And Shadow
First, decide where the light source is in your drawing. This helps you know where to put shadows and highlights.
Use softer shading for smooth areas and darker shading where the sink curves or is hidden from light.
- Shade the edges lightly to create depth
- Add dark shadows under the faucet and around the basin
- Leave highlights where the light hits directly
Adding Surface Texture
The sink surface can be shiny or matte. Add small lines or dots to show texture on the metal or ceramic.
Use short, light strokes for smooth surfaces. For rougher areas, use more varied marks to show bumps or scratches.
- Use smooth shading for shiny metal
- Add tiny dots or scratches for worn areas
- Blend softly to keep texture natural
Creative Variations
Drawing a kitchen sink offers many creative styles to explore. You can make your sketch look modern or vintage. Different designs bring unique charm to your drawing.
Try different shapes, details, and textures to vary your kitchen sink drawing. This guide shows ideas for modern and rustic styles you can try step by step.
Modern Sink Styles
Modern sinks often have clean lines and simple shapes. They look sleek and fit well in new kitchens. You can draw square, rectangular, or round sinks with smooth edges.
- Use straight lines for a sharp look
- Add a thin, flat faucet with a single handle
- Draw a deep basin to show function
- Include a drain grid or strainer for detail
- Try stainless steel texture with light shading
Rustic And Vintage Designs
Rustic sinks have a warm, aged look. They often use curves and rough textures. Vintage sinks may have decorative edges or old-fashioned faucets.
| Feature | Rustic Sink | Vintage Sink |
| Shape | Oval or farmhouse style | Rounded with decorative edges |
| Material | Stone or ceramic look | Porcelain or cast iron style |
| Faucet | Classic cross handles | Antique style with curves |
| Details | Textured surface, visible wear | Ornate patterns and trim |
Common Mistakes To Avoid
Drawing a kitchen sink can be simple with the right steps. Avoiding common mistakes helps your drawing look better. This guide shows errors to watch out for.
Knowing what to avoid saves time and frustration. Use these tips to improve your kitchen sink drawing skills.
Ignoring Proper Proportions
One big mistake is drawing the sink too big or too small compared to other kitchen parts. This makes the drawing look odd. Measure and compare sizes carefully.
Skipping Details On Faucets And Handles
Many skip the small details like faucet shape and handle placement. These details add realism. Take time to sketch these parts clearly.
Using Incorrect Perspective
Wrong angles can ruin the sink’s look. Make sure to use the right perspective lines. This keeps your drawing realistic and balanced.
Overlooking Water Drain Placement
Water drains must be correctly placed inside the basin. Placing them too close to the edge or off-center looks strange. Check their position before finishing.
Not Adding Texture And Shadows
Without texture and shadows, your sink looks flat. Adding these elements gives depth. Use light shading to show curves and metal shine.
- Shade areas under the faucet
- Use light lines for reflections
- Add small dots or lines for texture
Rushing The Drawing Process
Hurrying causes mistakes and sloppy lines. Take breaks and work slowly. This helps you spot errors and improve details.
| Mistake | Effect | How to Fix |
|---|---|---|
| Wrong proportions | Sink looks odd in the kitchen | Compare sizes with other objects |
| Missing faucet details | Drawing looks unfinished | Add clear shapes and lines |
| Incorrect perspective | Sink looks flat or skewed | Use perspective guides |
| Drain misplaced | Sink looks unnatural | Check center and edges |
| No texture or shadows | Drawing lacks depth | Shade and add texture |
Tips For Improving Your Drawing
Drawing a kitchen sink can be simple if you follow some useful tips. Improving your drawing skills takes patience and practice.
These tips will help you create a clear and accurate kitchen sink sketch step by step.
Start With Basic Shapes
Begin your drawing by sketching simple shapes. Use rectangles and circles to form the main parts of the sink. This helps keep the proportions right.
Focus On Perspective
Draw the sink from the correct angle to make it look real. Use lines that show depth, like the edges of the countertop and basin.
Add Details Slowly
Do not rush to add details like faucets and drains. First, finish the main shapes, then add small parts carefully.
Use A Guide For Proportions
| Part | Common Proportion |
| Sink Basin Width | 50-60% of total sink width |
| Faucet Height | About 30% of sink height |
| Drain Size | 5-10% of basin width |
Use this table as a quick reference to keep parts in the right size compared to each other.
Practice Shading And Texture
- Shade areas to show depth and curves
- Use light strokes for smooth surfaces
- Draw small lines to show metal texture on faucets
- Keep shadows consistent with your light source
Check Your Work Often
Step back and look at your drawing after each part. This helps you find mistakes and improve the sketch before moving on.
Tip:Use a mirror or take a photo of your drawing to see it from a new angle. This can help catch errors you missed.

Credit: www.freepik.com
Frequently Asked Questions
How Do I Start Drawing A Kitchen Sink?
Begin by sketching the basic shape of the sink, typically a rectangle or oval. Add the basin outline and faucet placement next. This simple framework guides your detailed drawing.
What Tools Are Best For Drawing A Kitchen Sink?
Use pencils for sketching, fine liners for outlines, and colored pencils or markers for shading. These tools provide control and detail, enhancing your drawing quality.
How Can I Add Realism To My Kitchen Sink Drawing?
Include reflections, shadows, and water droplets to create depth. Pay attention to metallic textures and highlights on the faucet and basin surfaces.
What Common Mistakes Should I Avoid When Drawing Sinks?
Avoid ignoring perspective and proportions. Don’t overlook small details like drain holes or faucet handles. These details make your drawing more accurate and appealing.
Conclusion
Creating a kitchen sink drawing is easier than it seems. Follow these steps, and you’ll improve your skills. Remember, practice makes perfect. Use these tips to refine your technique. Drawing can be fun and relaxing. Enjoy the process and let your creativity flow.
Soon, you’ll be drawing like a pro. Share your work with friends or family. Inspire others to try their hand at drawing too. Keep exploring new drawing challenges. You’ll discover more about your artistic abilities. Stay patient and keep learning.
Happy drawing!



