
Are you tired of your kitchen sink racks looking grimy and neglected? You’re not alone.
Many people overlook the importance of keeping these crucial kitchen components clean. Yet, knowing How to Clean Kitchen Sink Racks not only enhances the look of your kitchen but also plays a significant role in maintaining hygiene. Imagine reaching into your sink and always finding a sparkling rack, free from germs and gunk.
Sounds appealing, right? The good news is, achieving this is easier than you might think. In this guide, you’ll discover simple yet effective techniques to restore your sink racks to their former glory. Stick with us, and you’ll soon enjoy a fresher, cleaner kitchen.
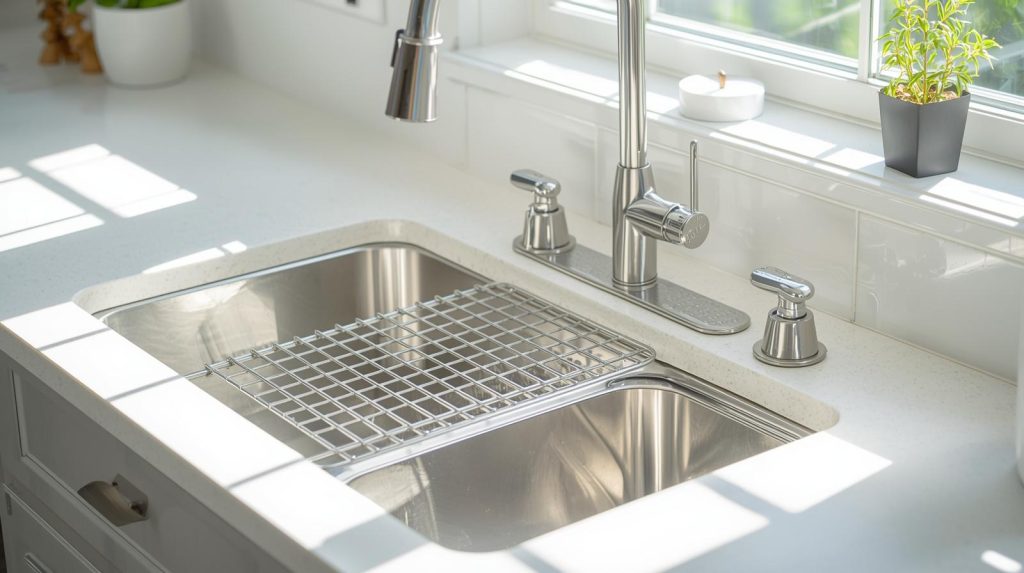
Credit: www.tastingtable.com
Preparing Your Sink Racks
Cleaning your kitchen sink racks keeps them free from grime and bacteria. It also helps your kitchen stay fresh and tidy.
Before you start cleaning, prepare the racks properly. This makes the process easier and safer for you and your sink.
Removing The Racks Safely
Take care when removing the racks to avoid damaging them or the sink. Follow these tips to remove racks safely.
- Check if the racks are secured with clips or screws.
- Gently lift the racks from the sink surface.
- If stuck, avoid pulling hard; use a soft cloth to protect the rack.
- Place the racks on a clean surface to avoid dirt.
Gathering Cleaning Supplies
Having the right supplies helps you clean the racks well. You need common items found in most kitchens.
| Cleaning Supply | Purpose |
| Dish soap | Removes grease and dirt |
| Baking soda | Scrubs stains gently |
| Soft sponge or brush | Prevents scratching the racks |
| White vinegar | Disinfects and removes odors |
| Clean towel | Dries racks after washing |
Initial Rinse And Soak
Cleaning kitchen sink racks starts with an initial rinse. This step removes loose food and dirt. Soaking the racks helps loosen stubborn grime.
Using the right water temperature and cleaning solution makes the process easier. Follow these tips to prepare your sink racks for a deep clean.
Using Warm Water
Warm water helps break down grease and food particles on the sink racks. Start by rinsing the racks under warm running water. This removes surface dirt and prepares them for soaking.
- Use water that is comfortably warm, not hot.
- Rinse all sides of the racks thoroughly.
- Remove any visible debris with a soft brush or cloth.
Soaking In Cleaning Solution
Soaking in a cleaning solution loosens tough stains and kills bacteria. Use a mild detergent or a mix of vinegar and water. Let the racks soak for at least 15 minutes.
| Cleaning Solution | Soaking Time | Benefits |
|---|---|---|
| Mild Dish Soap + Warm Water | 15–20 minutes | Breaks down grease, safe for all materials |
| White Vinegar + Water (1:1) | 20–30 minutes | Disinfects and removes mineral deposits |
| Baking Soda Paste (applied after soaking) | Apply after soaking | Scrubs off stains without scratching |
Scrubbing Techniques
Cleaning kitchen sink racks helps keep your kitchen tidy. Good scrubbing removes dirt and grime effectively.
Using the right tools and methods makes scrubbing easier. It also protects your sink racks from damage.
Choosing The Right Brush Or Sponge
Pick a brush or sponge that fits your sink rack material. Soft sponges work well for delicate racks.
Stiff brushes help remove stuck-on food and rust. Use non-abrasive tools to avoid scratches.
- Soft sponge for gentle cleaning
- Stiff nylon brush for tough spots
- Old toothbrush for corners and crevices
- Avoid steel wool on coated racks
Removing Stubborn Stains And Residue
Stubborn stains need extra care. Use baking soda or vinegar to help loosen grime.
Apply paste or soak racks in a solution. Scrub gently until the residue lifts away.
- Make a paste with baking soda and water
- Let paste sit on stains for 10 minutes
- Soak racks in vinegar for 15-20 minutes
- Scrub with a brush to remove loosened dirt
- Rinse well with warm water
Dealing With Rust And Mineral Deposits
Kitchen sink racks often get rusty or covered with mineral deposits. These buildups can make racks look dirty and reduce their lifespan. Cleaning them regularly keeps your kitchen tidy and your racks in good shape.
Rust forms when metal reacts with moisture. Mineral deposits come from hard water. Both need different cleaning approaches to remove safely and effectively.
Natural Remedies
Natural ingredients can remove rust and mineral deposits without harsh chemicals. They are safe for most materials and easy to find at home.
White vinegar helps dissolve mineral deposits. Lemon juice breaks down rust spots. Baking soda scrubs away stains gently.
- Soak the rack in white vinegar for 30 minutes to soften deposits.
- Sprinkle baking soda on rust spots and scrub with a soft brush.
- Apply lemon juice on rust, let it sit for 10 minutes, then rinse.
- Use a cloth or sponge to wipe the rack clean.
Commercial Cleaners
Commercial cleaners are made to remove tough rust and mineral buildup fast. They usually contain stronger chemicals than natural remedies.
Choose cleaners labeled safe for kitchen use. Follow the instructions carefully to avoid damage or injury.
- Wear gloves to protect your skin from chemicals.
- Apply cleaner with a sponge or brush on the affected areas.
- Let it work for the time suggested on the label.
- Rinse the rack thoroughly with water after cleaning.
- Dry the rack completely to prevent new rust or deposits.
Rinsing And Drying
Cleaning your kitchen sink racks is important to keep them free of food residue and germs. Proper rinsing and drying help extend their life and keep them looking good.
Focus on rinsing off all soap and dirt, then drying the racks well to avoid water spots and rust.
Thorough Rinse Methods
Rinsing removes soap and leftover food from your sink racks. Use warm water to loosen stuck particles. Make sure to rinse every corner and wire carefully.
- Hold the rack under running water for at least 30 seconds.
- Use a soft brush to scrub tight spots during rinsing.
- Check for any soap bubbles or dirt after rinsing.
- If needed, repeat rinsing until the rack is clean.
Drying To Prevent Water Spots
Drying your kitchen sink racks quickly stops water spots and rust. Air drying works but can leave spots. Use a towel to dry for the best results.
| Drying Method | Benefits | Drawbacks |
|---|---|---|
| Air Drying | No extra effort needed | May leave water spots and take longer |
| Towel Drying | Prevents spots and rust, dries quickly | Requires manual work |
| Using a Drying Rack | Keeps items elevated for fast drying | Needs space near the sink |

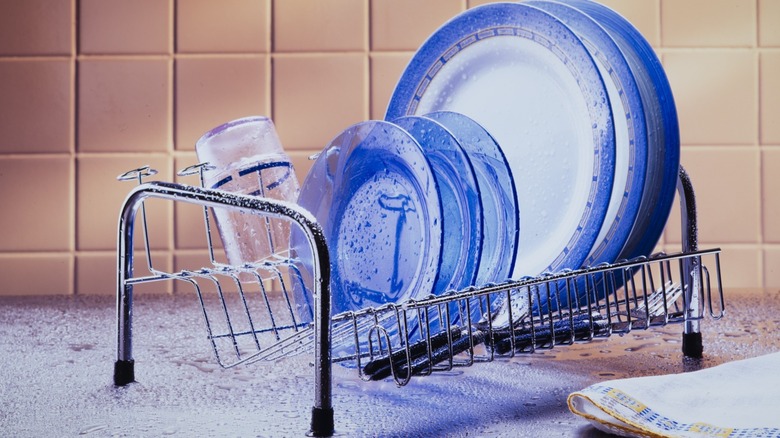
Credit: www.amazon.ca
Maintaining Clean Sink Racks
Kitchen sink racks hold dishes and utensils while drying. Keeping them clean stops germs and bad smells. Clean racks also help your kitchen look neat.
Follow easy habits to keep your sink racks fresh and safe. Regular care will stop dirt and stains from building up over time.
Regular Cleaning Schedule
Clean your sink racks often to avoid stains and rust. Use warm water and soap for a quick wash. Let racks dry completely before use.
- Remove the sink racks from the sink.
- Wash with dish soap and a soft sponge.
- Rinse thoroughly under running water.
- Dry with a clean towel or air dry fully.
- Place racks back in the sink once dry.
Preventing Buildup
Buildup of soap scum and food bits can harm sink racks. Clean racks often to stop grime and rust. Use vinegar or baking soda for deep cleaning.
| Cleaning Agent | Use | How to Apply |
| White Vinegar | Remove hard water stains | Soak rack 15 minutes, then scrub and rinse |
| Baking Soda | Eliminate grime and odors | Sprinkle on rack, scrub gently, rinse well |
| Lemon Juice | Brighten metal parts | Rub lemon on rack, let sit 10 minutes, rinse |
| Dish Soap | Daily cleaning | Use with warm water and sponge, rinse |
Tips For Different Rack Materials
Kitchen sink racks come in many materials. Each material needs special care to stay clean and last long.
Cleaning the racks properly stops rust and damage. Use the right tools and cleaners for each type.
Stainless Steel Care
Stainless steel racks resist rust but still get stains. Clean them often to keep their shine.
Use mild soap and warm water with a soft cloth. Avoid harsh scrubbers that can scratch the surface.
- Wipe racks dry after washing to stop water spots
- Use a baking soda paste for tough stains
- Rinse well to remove any soap residue
- Polish with a cloth to restore shine
Plastic And Coated Racks
Plastic and coated racks need gentle cleaning. Strong cleaners can damage the coating or plastic.
Use warm water and mild dish soap. Avoid bleach or abrasive pads that can cause scratches or wear.
- Soak racks in soapy water to loosen dirt
- Use a soft brush to clean hard-to-reach spots
- Rinse thoroughly to remove soap
- Dry racks well to prevent mold or mildew
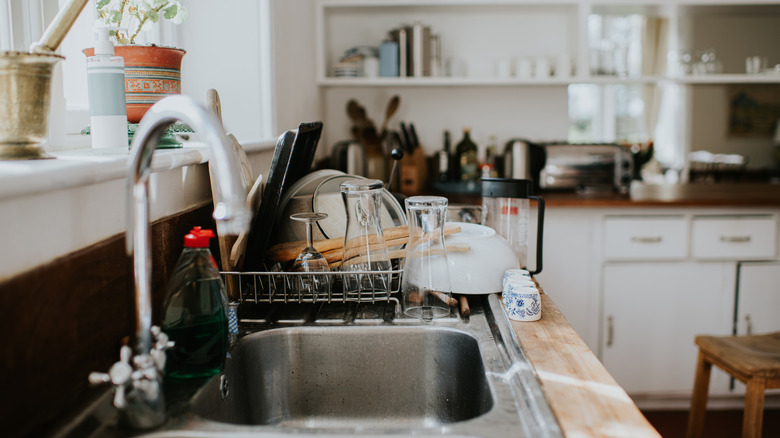
Credit: www.hunker.com
Frequently Asked Questions
How Often Should I Clean Kitchen Sink Racks?
Clean kitchen sink racks weekly to prevent grime and bacteria buildup. Regular cleaning keeps racks hygienic and extends their lifespan. Wiping and washing with mild soap is usually enough for maintenance.
What Is The Best Cleaner For Kitchen Sink Racks?
Use a mild dish soap or baking soda paste to clean sink racks. Avoid harsh chemicals that can damage coatings. Vinegar is also effective for removing mineral deposits and disinfecting.
Can I Use Vinegar To Clean Kitchen Sink Racks?
Yes, vinegar effectively dissolves mineral deposits and kills bacteria on sink racks. Soak racks in vinegar for 15-30 minutes before scrubbing for best results. Rinse thoroughly with water afterward.
How Do I Remove Rust From Kitchen Sink Racks?
Remove rust by scrubbing racks with a baking soda paste or lemon juice. For stubborn rust, use a soft brush gently to avoid scratching. Rinse and dry completely to prevent future rusting.
Conclusion
Cleaning kitchen sink racks keeps your kitchen neat and hygienic. Regular washing stops dirt and germs from building up. Use simple tools like soap, water, and a brush for best results. Dry racks fully to avoid rust and mold. A clean rack helps your dishes stay fresh and safe.
Small efforts make a big difference in kitchen care. Keep this routine easy and quick for lasting cleanliness. Your kitchen will look better and feel more inviting.


