
How to Grease and Flour a Pan: Complete Step-by-Step Guide
Do you find your cakes sticking to the pan despite your best efforts? You’re not alone.
Many home bakers face this common challenge, but there’s good news. Learning How to Grease And Flour a Pan properly can transform your baking experience. This simple yet effective technique ensures that your baked goods slide out effortlessly every time.
Imagine the satisfaction of lifting your cake out of the pan without a single crumb left behind. That’s what awaits you when you master this skill. In this guide inspired by America’s Test Kitchen, you’ll discover the secret techniques and insider tips that will make you the hero of your kitchen. So, why not eliminate the frustration and elevate your baking game? Dive in to learn how you can achieve perfect results with every bake.
Choosing The Right Pan
Greasing and flouring a pan properly starts with picking the right pan. The material, size, and shape of the pan all affect baking results.
Knowing the differences in pans helps you prepare them correctly for any recipe. This guide covers pan materials and size and shape choices.
Different Pan Materials
Pan materials affect heat distribution and how your baked goods cook. Some materials hold heat better, while others release it faster.
| Material | Heat Conductivity | Best Use | Greasing Tip |
|---|---|---|---|
| Aluminum | High | Cakes, cookies | Use oil or butter, then flour |
| Non-stick | Medium | Delicate cakes | Light grease only, no flour |
| Glass | Low | Breads, casseroles | Generous grease and flour |
| Cast iron | High | Rustic breads, pies | Well-seasoned pan, light grease |
Size And Shape Considerations
Choose the right size and shape to match your recipe. This affects cooking time and how heat spreads in the pan.
- Use smaller pans for thicker cakes
- Larger pans make thinner, faster-cooking baked goods
- Round pans work for most cakes and pies
- Square or rectangular pans fit bars and brownies
- Taller pans need more careful greasing to avoid sticking

Credit: www.tasteofhome.com
Types Of Grease To Use
Greasing and flouring a pan helps baked goods release easily. Choosing the right grease makes a big difference.
This guide covers common greases and their best uses for baking pans.
Butter Vs. Shortening
Butter adds flavor and browns the edges of baked goods. It works well for cakes and cookies.
Shortening does not add flavor but creates a smooth, even layer. It helps prevent sticking in sticky batters.
- Butter: Best for flavor and light browning
- Shortening: Best for non-stick and even coating
Oil Options
Oils like vegetable or canola oil are easy to spread and coat pans thinly. They do not add flavor.
Use oil for quick greasing, especially for pans with sticky or heavy batters.
- Vegetable oil: Neutral taste, good for all pans
- Canola oil: Light texture, easy to spread
- Olive oil: Adds flavor, best for savory dishes
Specialty Fats
Specialty fats like coconut oil or baking sprays offer unique benefits for pan preparation.
Coconut oil adds a subtle flavor and solidifies at room temperature. Baking sprays combine oil and flour for fast greasing.
- Coconut oil: Adds flavor, best for tropical or sweet recipes
- Baking spray: Quick and convenient, contains flour
Step-by-step Greasing Process
Greasing and flouring a pan helps your baked goods release easily. It also creates a nice crust on cakes and breads.
This guide shows you how to do it correctly with clear steps and tools needed.
Tools Needed
Gather these tools before you start to make the process smooth and easy.
- Butter or shortening
- Pastry brush or paper towel
- All-purpose flour
- Sifter or fine mesh strainer
- Mixing bowl or small plate
- Cake pan or baking pan
Applying The Grease Evenly
Apply the grease with care to cover every part of the pan. This step prevents sticking and helps the flour stick well.
| Action | Tip |
| Use a pastry brush or paper towel to spread butter or shortening. | Cover all sides and bottom evenly. |
| Sprinkle a tablespoon of flour into the pan. | Use a sifter for even coating. |
| Tap and rotate the pan to spread flour on the grease. | Make sure flour covers the entire greased surface. |
| Turn the pan upside down and tap out extra flour. | Remove loose flour to avoid clumps on baked goods. |
Flouring Techniques
Greasing and flouring a pan helps baked goods release easily. It also creates a light crust on the outside.
Using the right flour and dusting method is key. Avoiding clumps and excess flour keeps your cake smooth.
Choosing The Right Flour
Use a flour with a fine texture for dusting. Cake flour or all-purpose flour work best. Avoid coarse flours that leave thick layers.
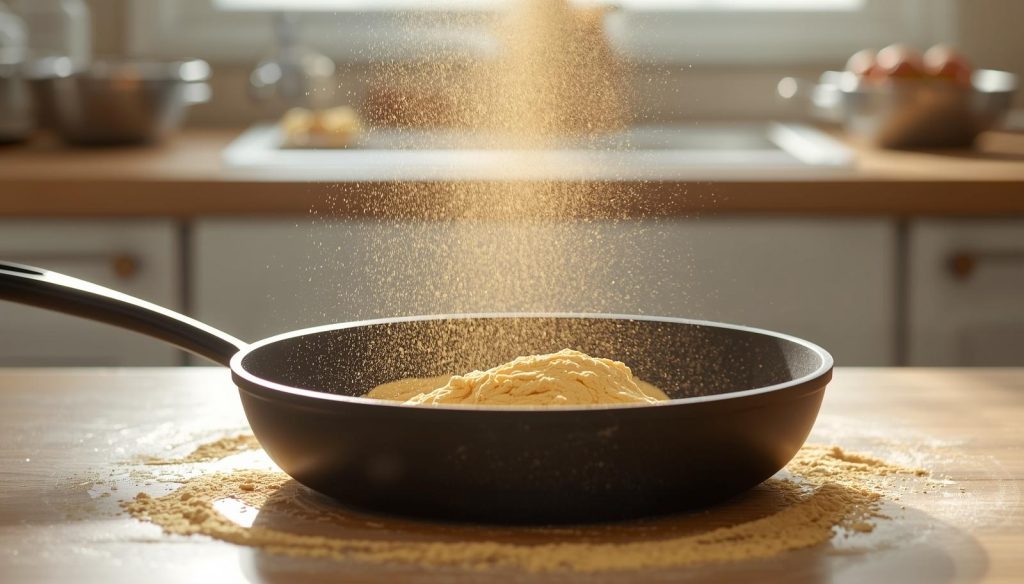
How To Dust The Pan
After greasing, add a small amount of flour to the pan. Tilt and tap the pan to spread the flour evenly.
- Sprinkle about one tablespoon of flour into the pan.
- Hold the pan over the sink or trash to catch extra flour.
- Rotate and tilt the pan, coating all greased surfaces.
- Tap out any loose flour back into the sink or trash.
Avoiding Clumps And Excess
Clumps of flour can cause uneven baking and spots on your cake. Use these tips to prevent clumps and excess flour.
| Tip | How to Do It |
| Sift Flour | Sift before dusting to break up lumps |
| Use Light Coating | Apply just enough flour to cover the greased surface |
| Tap Out Extra | Invert pan and tap to remove loose flour |
| Check Corners | Use fingers or a brush to spread flour evenly in corners |
Common Mistakes To Avoid
Greasing and flouring a pan is key to easy cake release and a smooth surface. Many cooks make simple errors that cause sticking or uneven crusts.
Knowing common mistakes helps you prepare pans correctly. Avoid these errors to get better baking results.
Too Much Or Too Little Grease
Using too much grease can cause your cake to fry or become greasy. Too little grease may make the cake stick to the pan.
Apply a thin, even layer of butter or oil. Use a paper towel to remove any extra grease to prevent pooling.
- Too much grease leads to oily texture
- Too little grease causes sticking
- Wipe excess grease for balance
Uneven Flour Coverage
Flouring the pan unevenly can create dry spots or thick patches on your baked goods. This affects how evenly the cake bakes and releases.
After greasing, sprinkle flour and tilt the pan to coat all sides. Tap out extra flour to avoid clumps.
- Uneven flour causes uneven baking
- Clumps of flour create rough surfaces
- Tap out excess flour for smooth coating
Using Incorrect Ingredients
Not all greases and flours work well together. Using the wrong type can harm your cake’s texture or cause it to stick.
Use solid fats like butter or shortening for greasing. Use all-purpose flour for dusting unless the recipe says otherwise.
- Oils may not hold flour well
- Cornstarch can replace flour for some recipes
- Non-stick sprays may contain flour already

Credit: www.youtube.com
Alternative Methods
Greasing and flouring a pan is a key step for baking success. It stops cakes from sticking.
Besides the usual butter and flour, there are other ways to prepare your pan.
Using Parchment Paper
Parchment paper makes it easy to remove baked goods. It helps prevent sticking without grease.
Cut a piece of parchment to fit the bottom of your pan. Place it inside before adding batter.
- Cut paper to fit pan bottom
- Grease sides lightly if needed
- Place parchment in pan before batter
Non-stick Spray Options
Non-stick sprays are quick and easy. They coat pans evenly and reduce mess.
Choose sprays that contain flour for best results. These help create a non-stick surface.
- Use spray with flour for cakes
- Spray pan evenly before adding batter
- Use light coats to avoid excess buildup
Cleaning And Maintenance Tips
Keeping your baking pans clean helps them last longer. Proper care prevents residue buildup. It also keeps your baked goods tasting fresh.
Learn simple ways to remove residue and protect your pans. These tips make greasing and flouring easier each time.
Removing Residue
Residue can stick to pans after baking. Clean pans soon after use to avoid this. Use warm water and mild soap. Avoid harsh scrubbing that can damage the surface.
- Soak the pan in warm, soapy water for 10 minutes
- Use a soft sponge or cloth to wipe residue away
- For stubborn spots, make a paste with baking soda and water
- Apply the paste gently and let it sit for 15 minutes
- Rinse well and dry the pan completely before storing
Extending Pan Life
Proper care extends your pan’s life. Avoid using metal tools that scratch the surface. Store pans carefully to prevent dents.
| Tip | Why It Helps |
| Use silicone or wooden utensils | Prevents scratches and damage |
| Apply grease and flour lightly | Stops buildup and keeps pans nonstick |
| Hand wash instead of dishwasher | Protects the pan’s coating |
| Store pans stacked with paper towels | Prevents scratching between pans |

Credit: www.yahoo.com
Frequently Asked Questions
How Do You Grease And Flour A Pan Properly?
To grease and flour a pan, first apply a thin layer of butter or oil. Then sprinkle flour evenly, tilting the pan to coat all surfaces. Tap out excess flour to prevent clumps and ensure even baking.
Why Is Greasing And Flouring Important In Baking?
Greasing and flouring prevent cakes from sticking to the pan. This ensures easy release and maintains the cake’s shape. It also promotes even cooking and browning on the cake’s edges.
Can I Use Alternatives To Butter For Greasing Pans?
Yes, alternatives like vegetable oil, shortening, or non-stick sprays work well. Choose one that suits your recipe and avoid too much grease to prevent soggy edges.
How Much Flour Should I Use After Greasing A Pan?
Use just enough flour to lightly coat the greased surface. About one tablespoon is usually enough for an 8-inch pan. Excess flour can cause a dry crust on baked goods.
Conclusion
Greasing and flouring a pan helps your baked goods come out perfect. It stops cakes and breads from sticking to the pan. Use the right amount of grease and flour for best results. Spread the grease evenly, then dust with flour gently.
This simple step makes cleaning easier and keeps your baking shape nice. Try this method for all your baking pans. Your desserts will look and taste better every time. Keep practicing to get a smooth, even coating. Baking becomes more fun with this easy trick.


